Chocolate Caramel Pretzel Bars

We have all felt the sudden panic of needing a bakery-level dessert for a party with zero time to actually bake.
You stare into the pantry hoping a highly addictive treat will magically appear from a few simple staples.
This Chocolate Caramel Pretzel Bars Recipe completely solves that last-minute dessert crisis using just four basic ingredients.
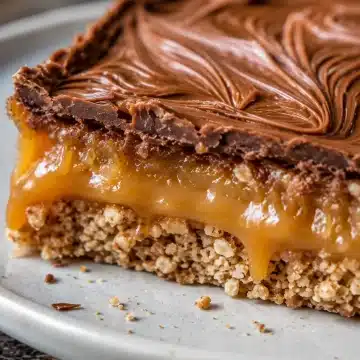
Expect the satisfying snap of the chilled chocolate layer breaking gently against your teeth.
Underneath, you hit the gooey, buttery pull of the baked caramel perfectly fused to a solid, salty base.
The final layer provides the incredibly salty, toasted crunch of the pretzel crust.
These 4-ingredient caramel pretzel treats deliver massive flavor without the stress of complicated pastry techniques.
Let us break down exactly how to build these layered bars for your next weekend gathering.
The Science of the "Second Bake"
Many no-bake recipes fail because the sticky layers refuse to actually bond together in the pan.
We rely on a crucial "second bake" method to turn these easy chocolate caramel bars into a solid, sliceable dessert.
Pouring the caramel over the hot crust and returning it to the oven fundamentally changes the sugar structure.
The intense oven heat aggressively thickens the caramel, forcing it to physically bind with the toasted pretzels.
This strict baking rule ensures your sticky middle layer does not turn into a runny mess when sliced.
You get beautifully defined, stable no-candy-thermometer caramel bars that hold their shape at room temperature.
Ingredient Spotlight: Texture is Everything
Building a structurally sound pretzel crust dessert requires strict attention to your dry ingredient textures.
Crushed Pretzels: You absolutely must crush your pretzels into coarse, gravel-like bits rather than a fine, sandy dust. Leaving larger pieces intact guarantees that aggressive, salty crunch that perfectly offsets the heavy sugars.
Thick Caramel Sauce: Always choose a premium, heavily reduced caramel sauce rather than a thin ice cream syrup. A watery syrup will instantly soak through your baked crust, ruining the crispy foundation entirely.
Unsalted Butter: Using unsalted butter prevents the final crust from tasting overwhelmingly briny.
Semi-Sweet Chocolate Chips: A darker cocoa percentage helps balance the intense sweetness of the baked caramel center.
Flavor Variations & Upgrades
These versatile sweet and salty dessert bars are incredibly easy to customize for your specific sweet tooth.
If you want a significantly richer, more adult flavor profile, swap the semi-sweet chips for a high-quality dark chocolate.
The bitter notes of dark chocolate beautifully contrast the heavy, buttery sweetness of the thick caramel sauce.
You can also add a generous sprinkle of flaky Maldon sea salt right over the melted chocolate layer.
Adding that coarse salt before the chocolate sets creates a gorgeous visual finish and an explosive salty bite.
Perfect Presentation
These sturdy, sliceable squares are the absolute perfect candidate for a massive holiday cookie exchange.
They also transport beautifully in a cooler, making them a highly requested dessert for a sticky summer picnic.
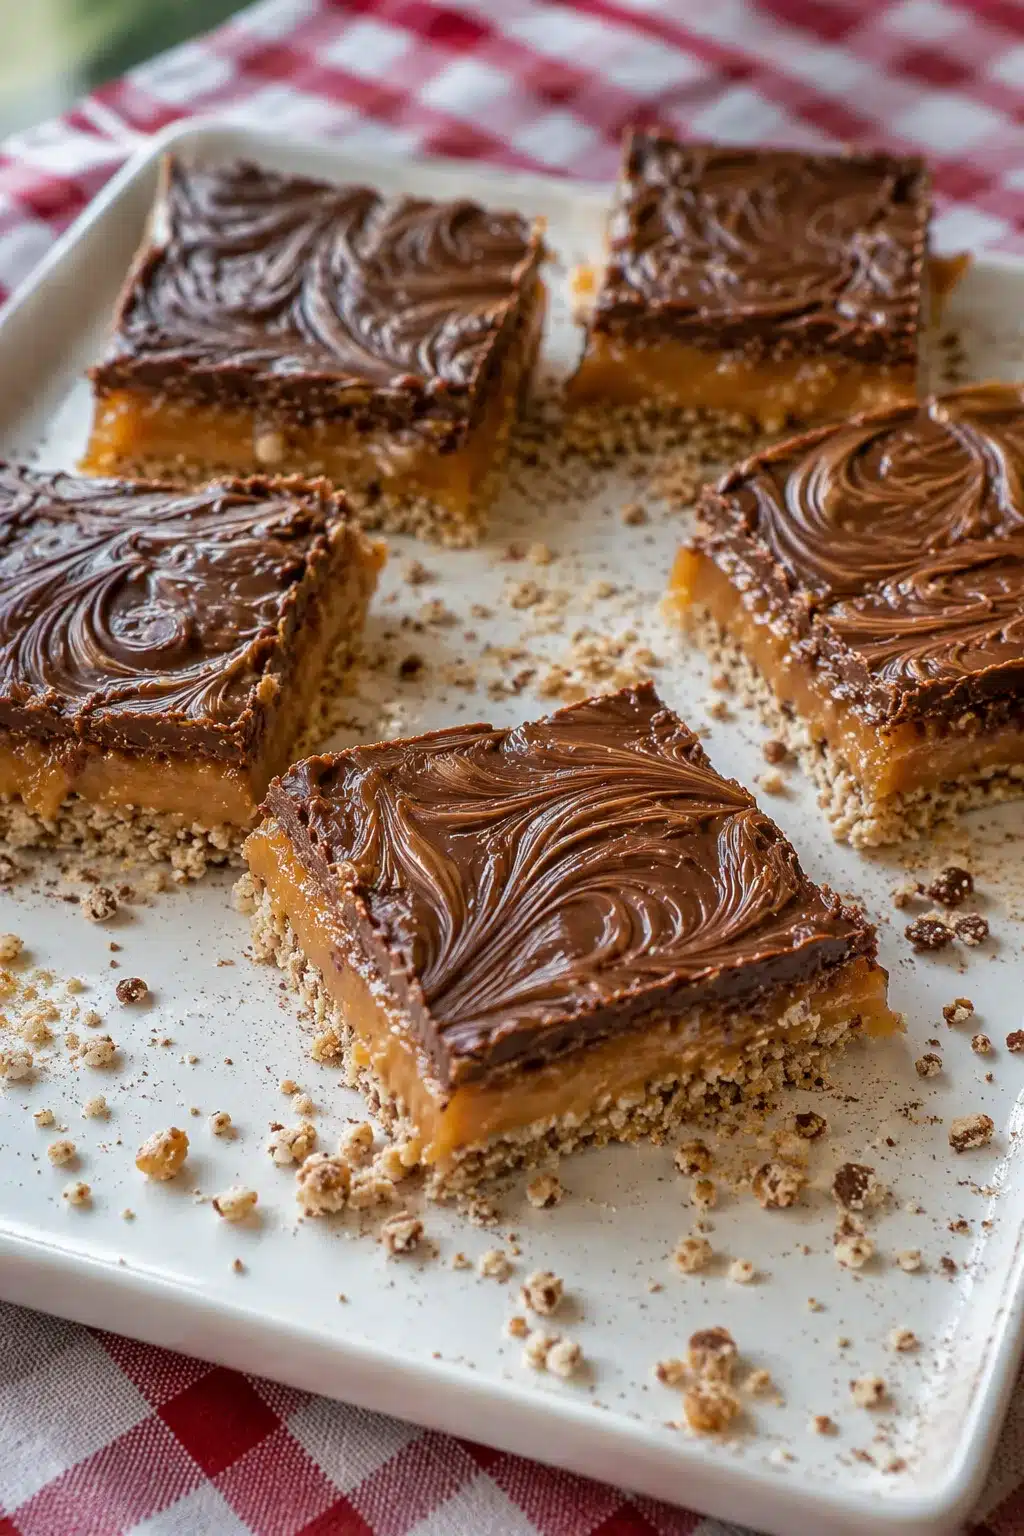
If you want to create a highly elegant, professional bakery look, slice the chilled slab into tiny, bite-sized squares.
Place each individual square into decorative mini cupcake liners before arranging them on a large serving platter.
Expert Success Tips for Clean Slices
Follow these strict assembly rules to guarantee your layered bars slice cleanly without crumbling or cracking.
- The "Residual Heat" Trick: You should never put the pan back in the oven to melt the chocolate chips. The residual heat from the hot baked caramel will gently melt the chocolate in minutes, ensuring you do not burn or ruin the chocolate's temper.
- The "Gentle Spread": When smoothing the caramel over the hot base, use an incredibly light hand with your spatula. Pushing too hard will rip up the fragile pretzel crust underneath and mix crumbs directly into your caramel.
- The "15-Minute Rest" Rule: You must let the chilled pan sit at room temperature for fifteen minutes before attempting to cut it. This brief rest prevents the rock-hard chocolate top from cracking and shattering violently under your knife.
Storage & Make-Ahead Logic
Because these bars contain a heavy caramel center, they require specific storage to maintain their ideal texture.
You must store any leftover squares in an airtight container tucked away in the refrigerator.
The cold environment keeps the baked caramel wonderfully chewy and prevents the chocolate top from melting on your counter.
When properly sealed, these salty treats will stay incredibly fresh and delicious for up to a full week.
Common Questions (FAQ)
Can I use thick pretzel rods or classic twists for the crust? You can absolutely use classic twists or thick rods to build your buttery base. Just ensure you crush them thoroughly in a zip-top bag to achieve that necessary coarse crumb texture.
Why did my pretzel crust crumble and fall apart? A crumbling base usually means the pretzel pieces were left too large or you did not press the mixture firmly enough into the glass dish. Always use the flat bottom of a measuring cup to compact the butter and crumbs into a tight, solid layer before baking.
Chocolate Caramel Pretzel Bars
Ingredients
- 3 cups salted pretzels crushed (about 6 ounces)
- 1 cup 2 sticks unsalted butter, melted (plus extra for greasing the pan)
- 1 ¼ cups thick caramel sauce store-bought or homemade, room temperature
- 1 cup semi-sweet chocolate chips
Instructions
- Preheat & Prep: Preheat your oven to 350°F (175°C). Lightly grease a 9x13-inch glass casserole dish with a bit of butter, making sure to coat the corners so the bars release easily.
- Crush Pretzels: Place the pretzels in a large zip-top bag and crush them with a rolling pin or the bottom of a heavy pan until you have mostly small pieces with a few larger bits for texture. You are aiming for coarse crumbs, not a fine powder.
- Mix Crust: In a medium bowl, combine the crushed pretzels and melted butter. Stir until all of the pretzel crumbs are evenly coated and look slightly glossy.
- Press Crust: Transfer the buttered pretzel mixture to the prepared glass casserole dish. Press it firmly and evenly into the bottom of the dish using your hands or the flat bottom of a measuring cup.
- First Bake: Bake the pretzel crust in the preheated oven for 8-10 minutes, just until it is lightly fragrant and starting to set. Remove the dish from the oven and set it on a heatproof surface. Leave the oven on.
- Add Caramel: While the crust is still hot, pour the room-temperature caramel sauce evenly over the surface. Use a spatula or the back of a spoon to gently nudge the caramel into the corners, trying your best not to disturb the crust.
- Second Bake: Return the dish to the oven and bake for another 10-12 minutes, until the caramel is bubbling gently around the edges and looks slightly thicker.
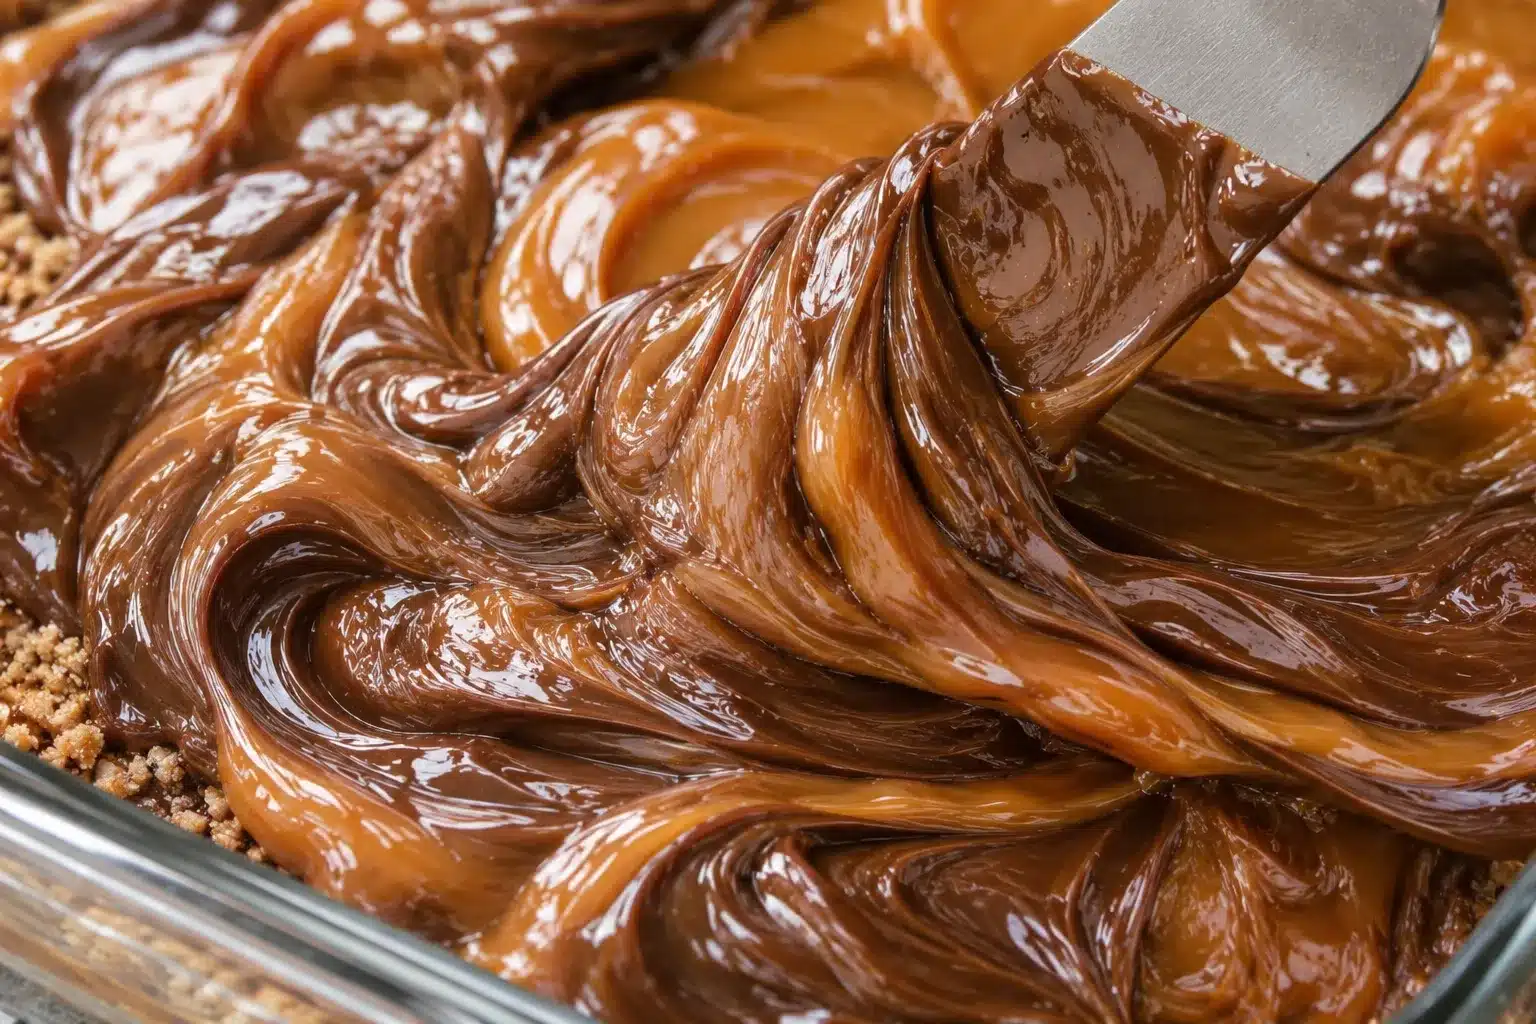
- Add Chocolate: Carefully remove the pan from the oven and immediately sprinkle the chocolate chips evenly over the hot caramel layer. Let them sit undisturbed for 3-5 minutes.
- Spread Chocolate: Once the chocolate chips look glossy and soft from the residual heat, use a small offset spatula or the back of a spoon to gently spread and swirl the melted chocolate over the caramel.
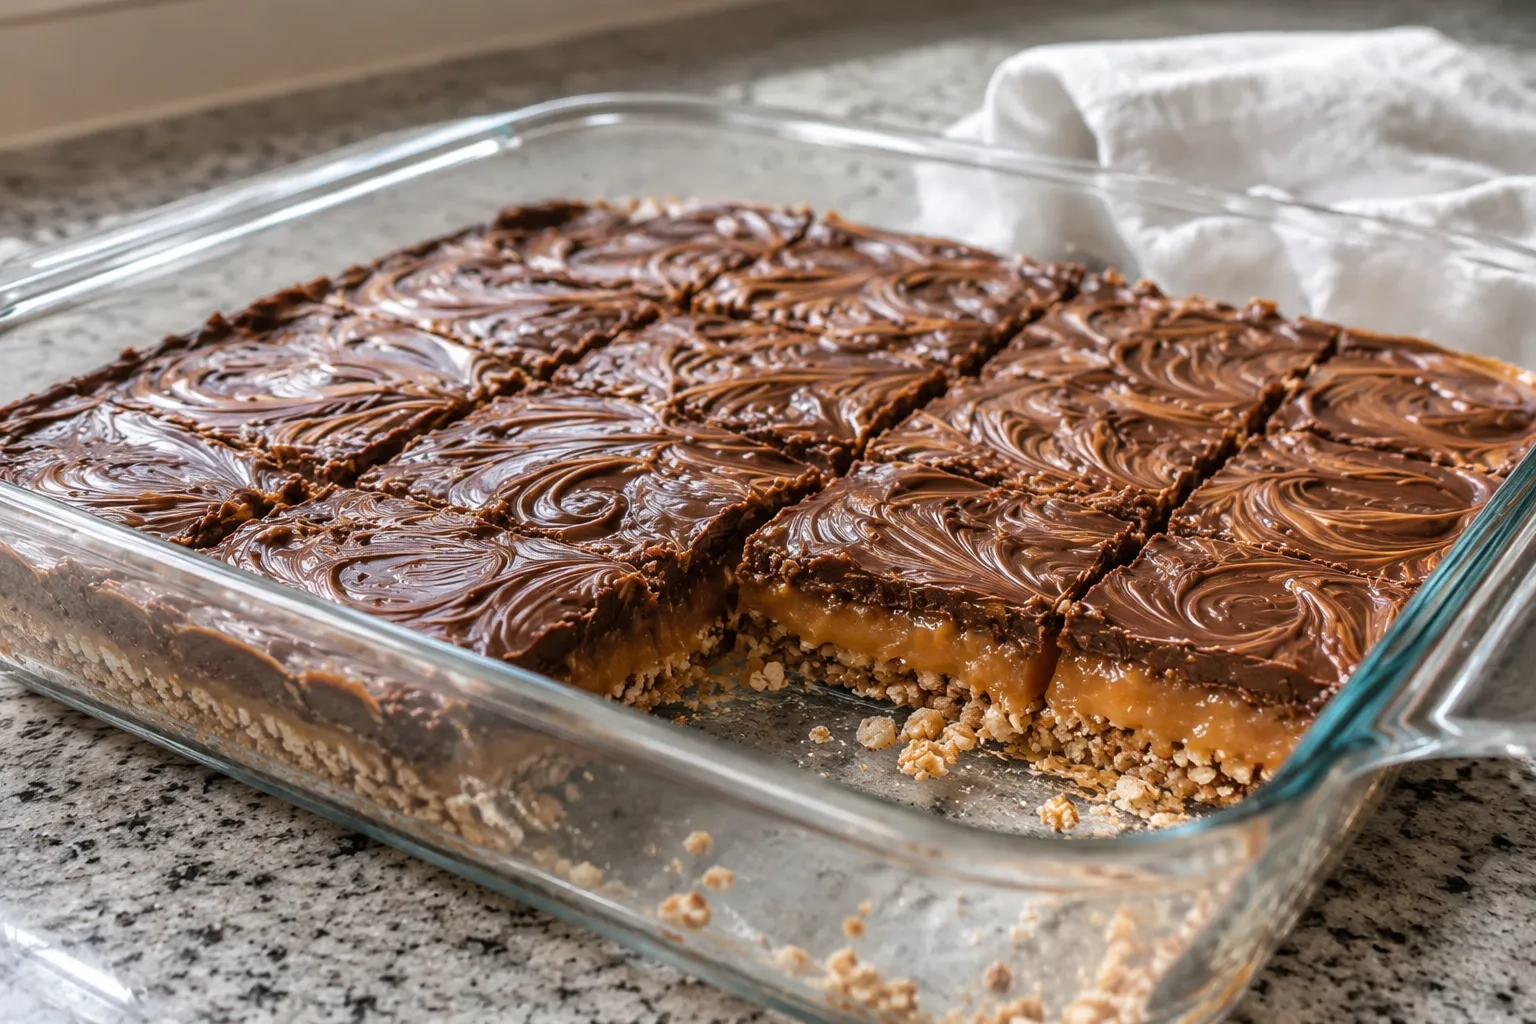
- Chill: Allow the bars to cool at room temperature until the glass dish is no longer hot. Transfer the dish to the refrigerator and chill for at least 1-2 hours, or until fully set.
- Slice & Serve: When ready to serve, remove the dish from the refrigerator and let it sit at room temperature for about 10-15 minutes to soften slightly. Run a thin knife around the edges, then cut the slab into 16 squares.