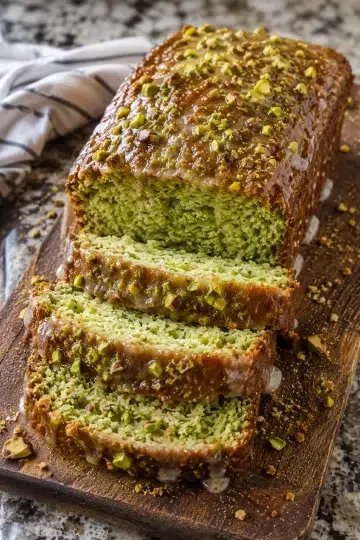
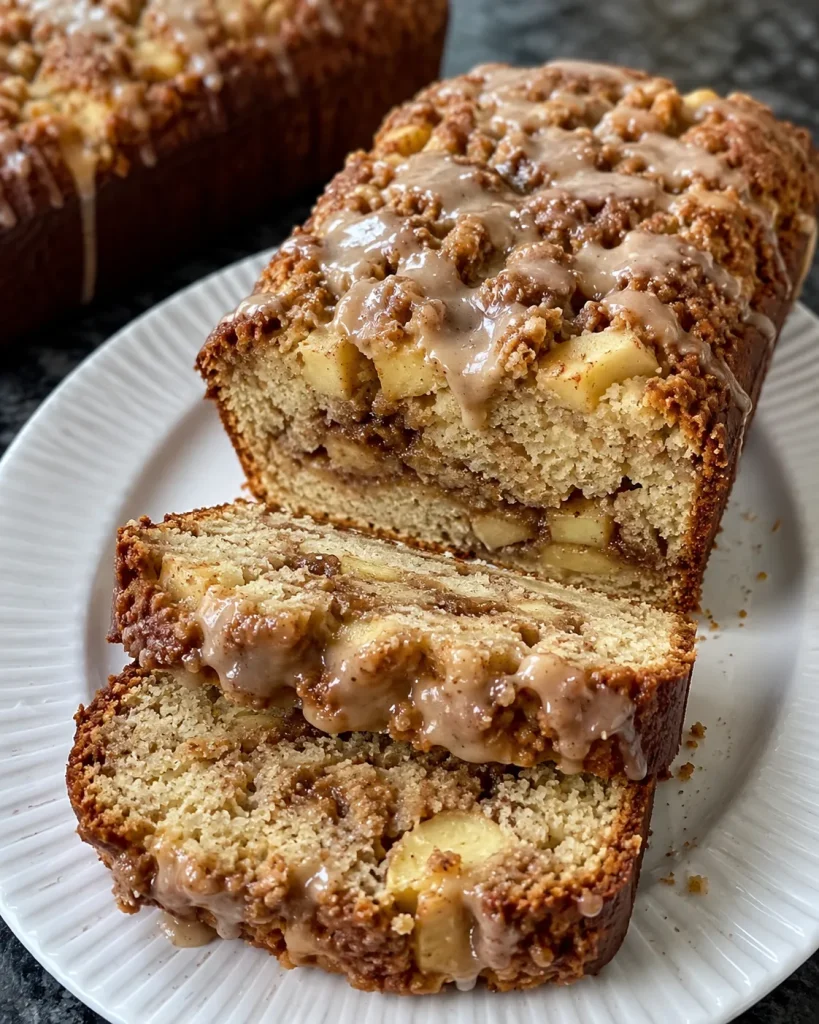
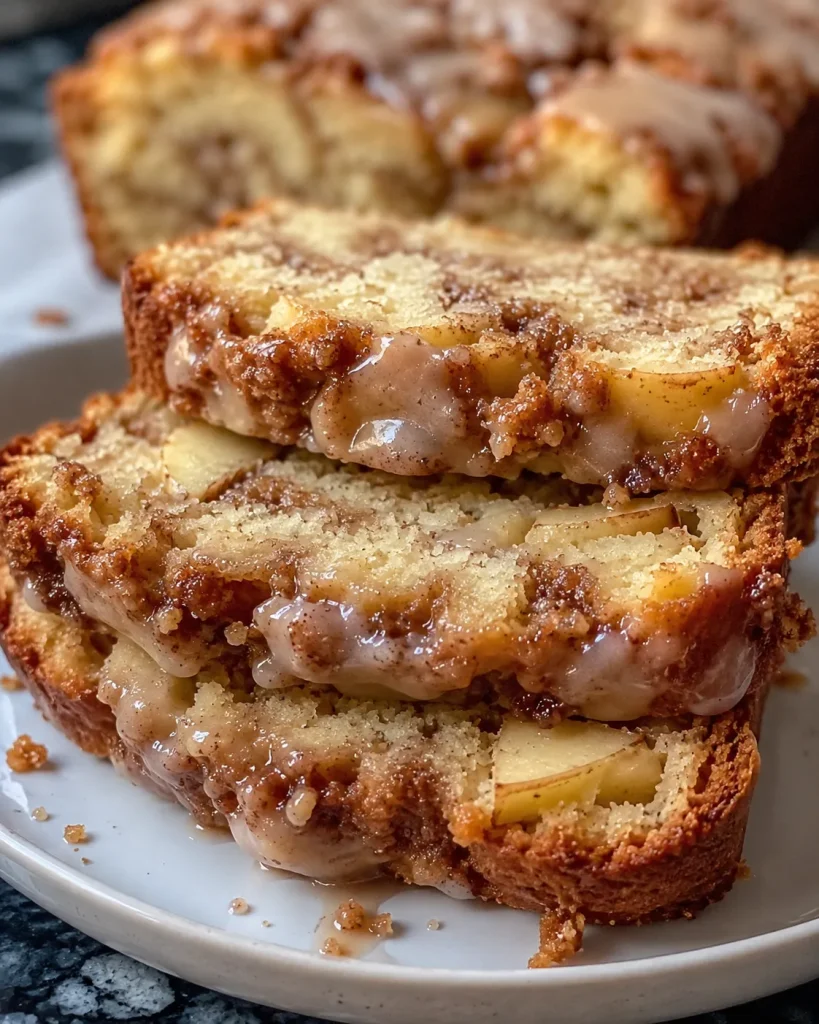
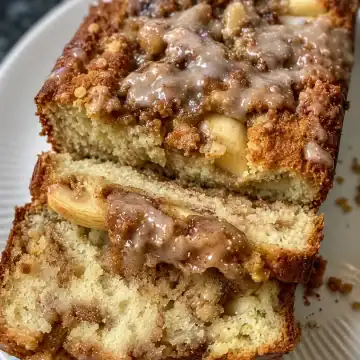
Apple Fritter Bread
There is absolutely nothing like the smell of warm cinnamon and baked apples wafting through your house. It's that cozy, unmistakable aroma that makes everyone drop what they are doing and wander into the kitchen. My husband walked in from the garage the other day just as I was pulling this incredible loaf out of the oven, and before it even had a chance to fully cool, we were already cutting ourselves thick, warm slices.
Whether you are hosting a weekend brunch, need a sweet treat to pair with your afternoon coffee, or just want an easy dessert that feels deeply comforting, this quick bread delivers every single time. It looks like it took hours to make, but the batter comes together in minutes.
Why You Are Going to Fall in Love with This Recipe
Creating recipes that are straightforward but deliver huge flavor is always my goal, and this loaf checks every single box. Here is why you need to preheat your oven right now:
- No Yeast Required: Because this is a quick bread, there is no kneading, no proofing, and no waiting around for dough to rise. The baking powder and baking soda do all the heavy lifting.
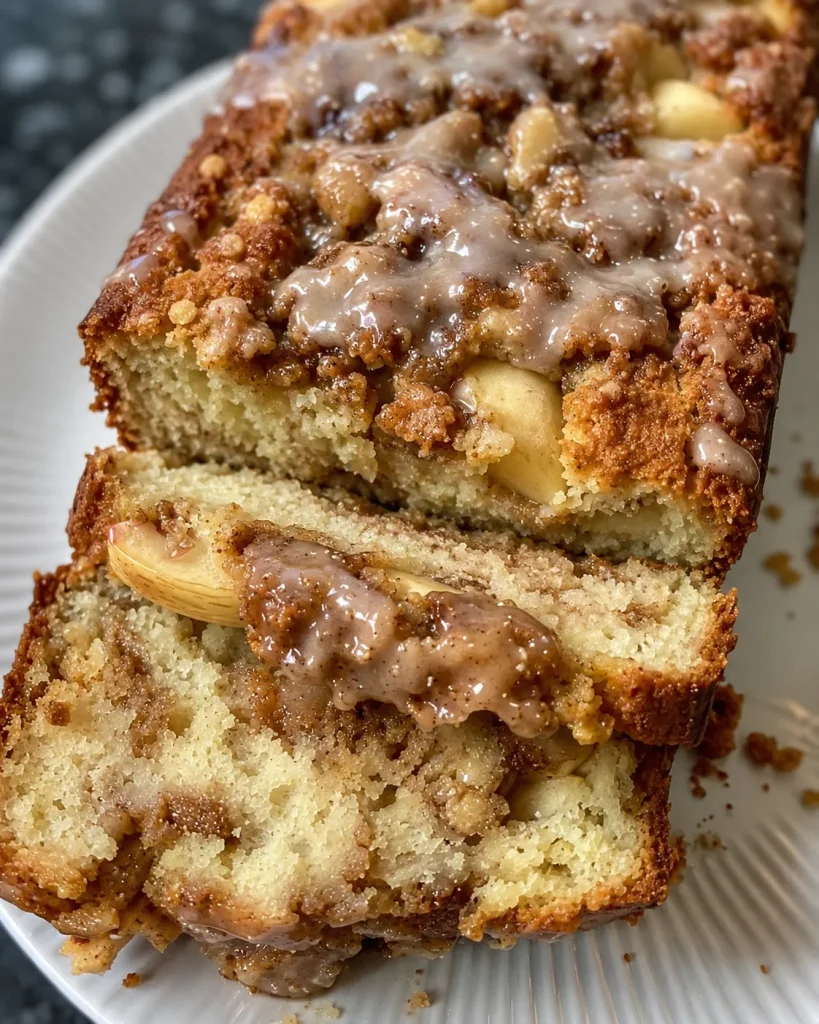
- Incredible Texture: The secret weapon here is the sour cream. It guarantees a rich, dense, and ultra-moist loaf that will not dry out after a day on the counter.
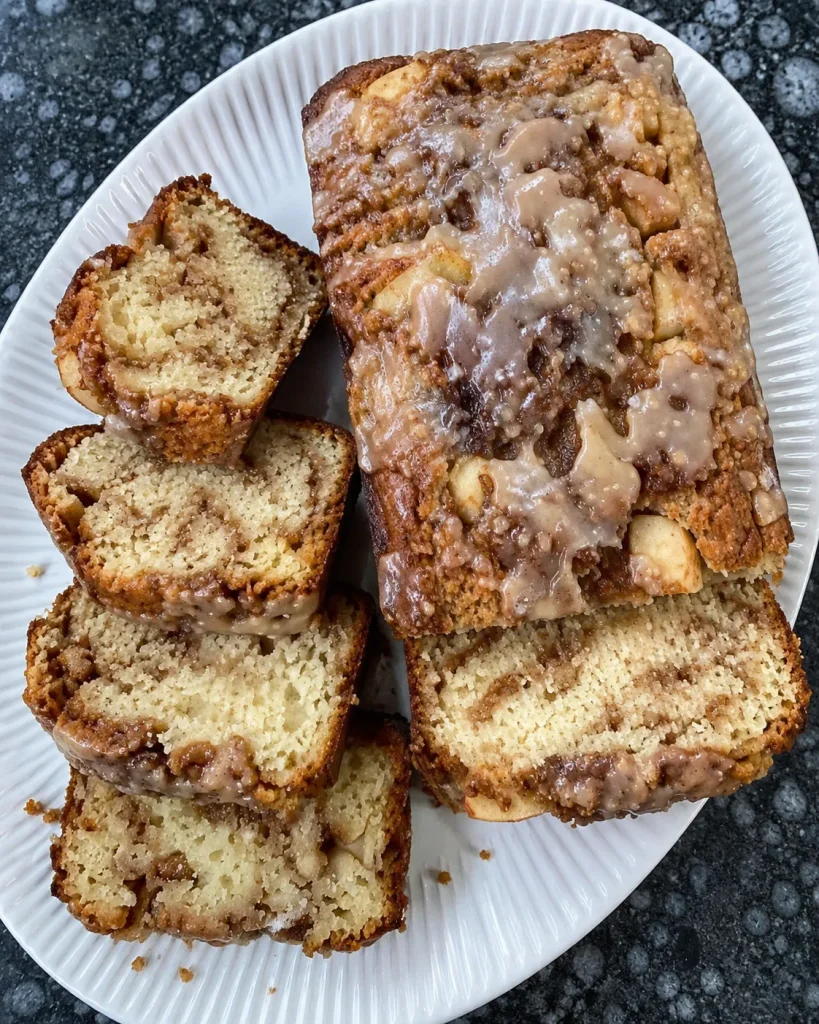
- The Perfect Swirl: Layering the batter with the cinnamon-sugar mixture creates a beautiful ribbon of flavor that ensures you get that classic "fritter" taste in every single bite.
- Pantry Staple Ingredients: Aside from grabbing a fresh apple, you likely already have every single ingredient sitting in your fridge and pantry right now.
The Secret to the Best Apple Fritter Bread: Ingredient Breakdown
To get that bakery-quality result at home, the ingredients we use-and how we prep them-matter. Let's break down the key components so you know exactly why this recipe works so well.
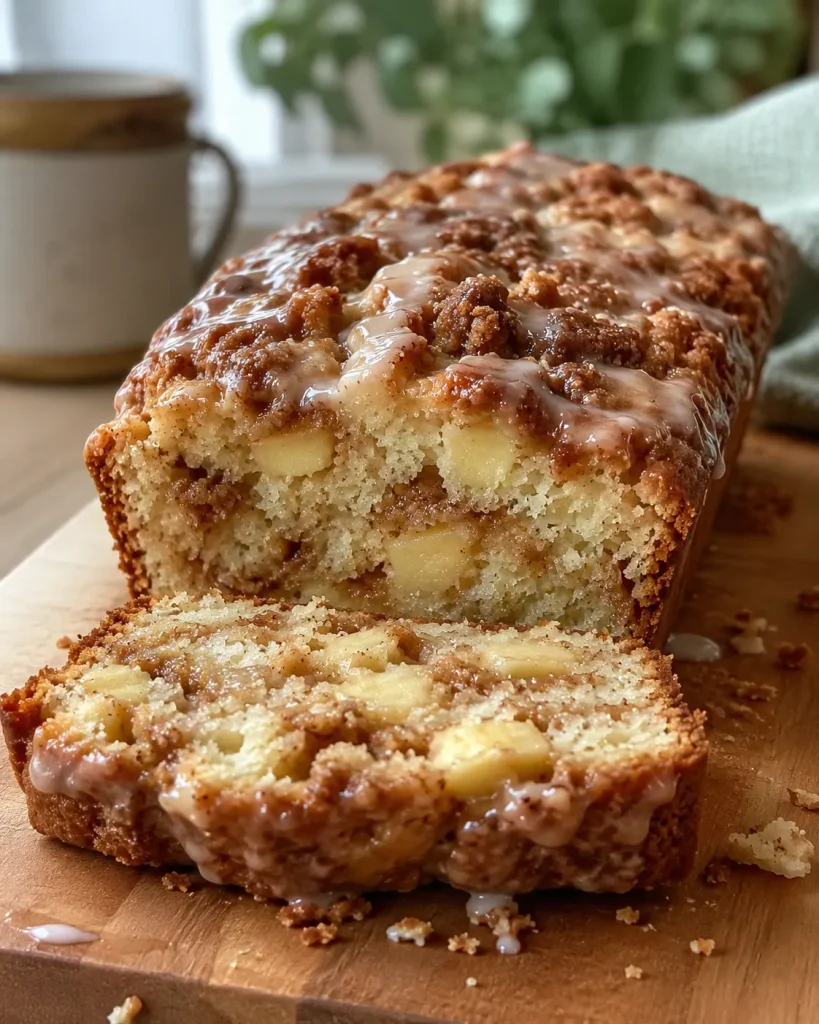
The Apples I highly recommend using a Granny Smith apple for this recipe. Because the brown sugar filling and the glaze are quite sweet, the tartness of the Granny Smith provides the perfect balance. Plus, they hold their shape beautifully in the oven without turning to mush. You want to peel, core, and chop your apple into small, ½-inch cubes. If the pieces are too large, they can weigh down the batter and cause the bread to sink in the middle.
The Dairy (Sour Cream, Milk, and Butter) Make absolutely sure your sour cream, eggs, and milk are at room temperature before you start mixing. Room temperature ingredients bond together smoothly and trap air, which expands during baking to give you a fluffy, tender loaf. If you use cold eggs or milk, they will seize up the melted butter, resulting in a dense, heavy bread. The sour cream is non-negotiable here; it adds a subtle tang and the fat content needed to keep the crumb incredibly tender.
The Cinnamon-Sugar Swirl We are using light brown sugar instead of white sugar for the swirl. The molasses in the brown sugar creates a slightly gooey, almost caramel-like texture inside the bread once it bakes, mimicking the sticky interior of a fried apple fritter. A pinch of nutmeg elevates the cinnamon and gives it that classic, warming spice profile.
Step-by-Step: Getting That Perfect Swirl
The visual appeal of this bread is all in the swirl! When layering your batter, do not skip the swirling step.
First, pour half of your prepared batter into your parchment-lined loaf pan. Use a spatula to smooth it into an even layer. Sprinkle half of your cinnamon-sugar mixture evenly over the top. Now, take a simple butter knife and run it through the batter in a figure-eight or zigzag motion. You aren't mixing it in; you are just creating ribbons.
Next, carefully spoon the remaining batter on top and gently smooth it out so you don't disturb the swirl underneath. Scatter your reserved handful of chopped apples on top, followed by the rest of the cinnamon-sugar mixture. Take your butter knife and swirl the top layer one more time. This creates that gorgeous, rustic, craggy top that holds onto the sweet glaze.
Pro Baking Tips for Success
- Do Not Overmix the Batter: When you combine your wet and dry ingredients, mix them until just barely combined. It is totally fine if there are a few tiny lumps or streaks of flour left before you fold in the apples. Overmixing develops the gluten and will make your bread tough and rubbery.
- Line Your Pan: Always line your loaf pan with parchment paper, leaving a bit of overhang on the sides. This acts as a "sling," allowing you to lift the entire loaf out of the pan easily once it has cooled, rather than trying to invert a sticky, glazed bread upside down.
- Test for Doneness: Because ovens vary and the moisture content of apples can differ, start checking your bread around the 50-minute mark. Insert a toothpick or a wooden skewer deep into the center. If it comes out clean or with a few moist crumbs, it's done. If it comes out with wet batter, give it another 5-10 minutes. If the top is browning too quickly before the center is done, loosely tent a piece of aluminum foil over the top of the pan.
Storing and Freezing Instructions
This bread is phenomenal on day one, but the flavors actually deepen and the bread becomes even moister on day two!
To Store: Allow the bread to cool completely. Store it in an airtight container at room temperature for up to 3 days, or in the refrigerator for up to 5 days. If you keep it in the fridge, I highly recommend popping a slice in the microwave for 10-15 seconds before eating to soften the crumb and warm the cinnamon.
To Freeze: This bread freezes beautifully. I recommend freezing it without the glaze. Wrap the completely cooled loaf tightly in a layer of plastic wrap, then a layer of aluminum foil. Freeze for up to 3 months. Thaw overnight on the counter, and whip up the fresh glaze to drizzle on top right before serving.
Apple Fritter Bread
Ingredients
- Filling/Topping:
- ½ cup light brown sugar lightly packed
- 1 ½ teaspoons ground cinnamon
- A pinch of ground nutmeg optional
- Cake Batter:
- ½ cup granulated sugar
- ½ cup unsalted butter melted and cooled
- ½ cup sour cream at room temperature
- 2 large eggs at room temperature
- 2 Tablespoons milk at room temperature
- 1 teaspoon vanilla extract
- 1 ½ cups all-purpose flour
- 1 teaspoon baking powder
- ½ teaspoon baking soda
- ¼ teaspoon salt
- 1 Granny Smith apple peeled, cored, and diced into ½-inch cubes
- Glaze:
- ⅓ cup icing powdered sugar, sifted
- 1 -2 teaspoons hot water
Instructions
- Preheat and Prep: Preheat your oven to 350˚F (175°C). Line a standard 9x5-inch loaf pan with parchment paper, leaving an overhang on the sides for easy removal. Set aside.
- Mix the Cinnamon Sugar: In a small bowl, whisk together the light brown sugar, ground cinnamon, and the pinch of nutmeg until well combined. Set aside.
- Combine Wet Ingredients: In a large mixing bowl, whisk together the granulated sugar, melted and cooled butter, room-temperature sour cream, eggs, milk, and vanilla extract until completely smooth and creamy.
- Combine Dry Ingredients: In a separate medium bowl, whisk together the all-purpose flour, baking powder, baking soda, and salt.
- Form the Batter: Gently pour the dry ingredients into the wet ingredients. Use a spatula to fold them together until just combined. Be careful not to overmix!
- Add the Apples: Fold all but a small handful of the diced Granny Smith apples into the batter.
- Layer and Swirl: Pour half of the batter into the prepared loaf pan and smooth it into an even layer. Sprinkle half of the cinnamon-sugar filling evenly over the batter. Take a flat butter knife and swirl it through the batter in a figure-eight motion.
- Top It Off: Gently spread the remaining batter over the top, smoothing it out. Scatter the reserved handful of diced apples over the batter, and sprinkle the remaining cinnamon-sugar mixture on top. Swirl once more with the knife.
- Bake: Bake in the preheated oven for 50-55 minutes, or until a toothpick inserted into the center of the loaf comes out clean. (If the top browns too quickly, loosely tent with foil for the last 15 minutes).
- Cool: Remove from the oven and allow the bread to cool in the pan for 15-20 minutes before using the parchment paper overhang to lift it onto a wire rack to cool further.
- Glaze: While the bread cools, whisk together the sifted icing sugar and 1 teaspoon of hot water. If the glaze is too thick, add the second teaspoon of hot water until it reaches a smooth, drizzly consistency. Drizzle the glaze over the warm loaf. Let the glaze set for 5-10 minutes before slicing and serving. Enjoy!