Bacon in the Oven
Bacon in the Oven - My entire childhood, Saturday mornings began when I smelled a skillet of bacon cooking on the stove. But many years ago, I changed the way I cook bacon, because I discovered cooking bacon on the stove is not the best way to do it.
Here's why you should bake your bacon in the oven instead!

How to Cook Perfect Bacon in the Oven (The Ultimate Guide)
My entire childhood, Saturday mornings began with the distinct sound and smell of a skillet of bacon sizzling on the stove. While that nostalgic aroma is unbeatable, the messy grease splatters on the countertops, unevenly cooked strips, and constant babysitting at the stove left much to be desired. Many years ago, I fundamentally changed my approach to this breakfast staple. I discovered that cooking bacon on the stove is simply not the optimal way to do it. The secret to perfectly crisp, flawlessly flat, and evenly cooked strips lies in your oven.
Whether you are preparing a large weekend brunch for the family, doing meal-prep for the busy week ahead, or looking for the best method to achieve picture-perfect bacon for your culinary creations, baking it is a complete game changer. Not only does it free up your stovetop for eggs and pancakes, but it also provides a much cleaner, safer, and more consistent cooking environment. By shifting from the skillet to the oven, you eliminate the hassle while significantly improving the final result.
The Cold Oven Method Explained
One of the most critical secrets to achieving the perfect texture is utilizing the "cold oven" method. Unlike most baking recipes that require a fully preheated environment, bacon benefits tremendously from a gradual rise in temperature. When you place bacon into a cold oven and then set it to 375°F (190°C), the fat begins to render slowly as the ambient heat steadily increases.
Rendering is the culinary process of melting and clarifying hard animal fat. When cold bacon is thrown into a screaming hot stovetop skillet, the proteins seize up quickly, causing the meat to curl aggressively and the edges to burn while the interior fat remains chewy and undercooked. By gradually bringing the bacon up to temperature in the oven, the fat melts away gently, essentially basting the meat in its own juices. The result is a beautifully flat, evenly crisped strip that shatters perfectly when you bite into it. This gradual rendering technique is exactly how high-end restaurants achieve those structurally perfect, editorial-quality strips of bacon for their premium breakfast sandwiches and burgers.
Selecting the Right Bacon
To get the most out of this oven-baked method, the quality and type of bacon you select play a significant role. The market is saturated with options, but understanding the differences will elevate your breakfast game.
- Standard Cut: This is the most common bacon found in grocery stores. It cooks relatively quickly (usually 15 to 20 minutes) and achieves a very crispy, delicate texture.
- Thick-Cut Bacon: Cut approximately twice as thick as standard slices, this variety requires an adjusted cooking time. You will need to plan for an extra 5 to 10 minutes in the oven. Thick-cut bacon offers a superb contrast in texture-crispy on the absolute edges but delightfully meaty and chewy in the center.
- Center-Cut Bacon: This is standard bacon with the fattiest ends trimmed off. It is slightly leaner and yields a higher percentage of meat per slice, resulting in slightly less shrinkage during the rendering process.
- Uncured vs. Cured: Cured bacon is preserved with synthetic nitrates and nitrites, while uncured bacon utilizes naturally occurring nitrates found in ingredients like celery powder or sea salt. Both varieties bake exceptionally well using the cold oven method.
Essential Equipment for Baking Bacon
The beauty of cooking bacon in the oven is the minimal equipment required, but setting up your pan correctly is essential for culinary success and rapid cleanup.
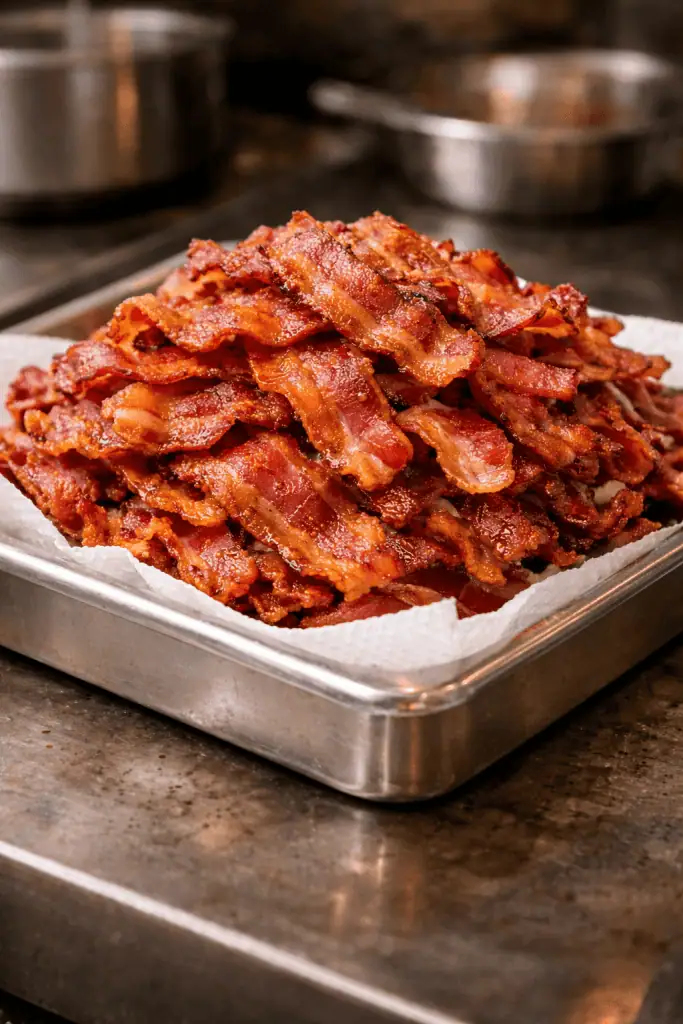
- Heavy-Duty Rimmed Baking Sheet: A standard half-sheet pan is perfect. The rim is absolutely non-negotiable; as the bacon renders, it will produce a significant amount of hot, liquid grease. A rimless cookie sheet will result in a dangerous oven spill and heavy smoke.
- The Wire Rack vs. Parchment Paper Debate: Placing an oven-safe wire baking rack inside your sheet pan elevates the bacon, allowing the hot air to circulate completely around each strip. This convection effect creates the crispiest possible results and lets the grease drip completely away from the meat.
- Foil or Parchment Alternative: If you do not have a wire rack, or if you prioritize an incredibly easy cleanup process, lining the sheet pan with heavy-duty aluminum foil or parchment paper is an excellent alternative. The bacon will cook in its own shallow pool of rendered fat, essentially confiting the meat, which yields a slightly richer, though equally delicious, result.
Oven vs. Air Fryer vs. Microwave
With so many modern kitchen appliances available, you might wonder how the oven method compares to other popular techniques.
- The Air Fryer: While an air fryer is essentially a compact convection oven and can produce wonderfully crispy bacon, its major limitation is capacity. Most air fryer baskets can only hold 4 to 5 strips of bacon without overlapping. If you are cooking a standard 12-ounce or 16-ounce package of bacon, you will be forced to work in multiple tedious batches. The oven allows you to cook an entire package simultaneously.
- The Microwave: Microwaving bacon between layers of paper towels is undeniably fast, but it compromises heavily on texture and flavor. Microwaved bacon often turns out dry, brittle, and lacks the deeply developed, roasted flavor that slow rendering provides. The oven method guarantees a superior, restaurant-quality bite.
Liquid Gold: Saving and Using Bacon Grease
One of the greatest secondary benefits of baking bacon on a sheet pan is the pristine, easily collectable rendered fat left behind. Do not throw this away! Let the grease cool slightly in the pan for about 10 minutes so it is safe to handle, but still liquid. Carefully pour the warm fat through a fine-mesh strainer into a heat-proof glass mason jar.
Stored in the refrigerator, this "liquid gold" will keep for months. It is an incredible flavor enhancer; try substituting it for butter or cooking oil when frying eggs, popping stovetop popcorn, roasting baby potatoes, or caramelizing onions. It adds a deep, smoky complexity to nearly any savory dish.
Storage and Reheating Protocols
If you are engaging in Sunday meal prep, baking a large batch of bacon is an incredibly efficient strategy.
- Refrigeration: Allow the cooked bacon to cool completely at room temperature. Store it in an airtight container lined with a dry paper towel for up to 4 to 5 days.
- Freezing: For long-term storage, freeze the cooked strips flat on a baking sheet before transferring them to a freezer-safe bag. This prevents them from freezing together into a solid block, allowing you to easily pull out individual slices as needed.
- Reheating: To restore that fresh-from-the-oven crunch, place the chilled slices in a dry skillet over low heat for a few minutes until warmed through and re-crisped.
Frequently Asked Questions
How long do I cook thick-cut bacon in the oven? Thick-cut bacon will generally require 20 to 25 minutes starting from a cold oven. Because moisture and sugar content vary by brand, always rely on the visual color and texture rather than just the timer.
Does baking bacon in the oven make a huge mess? No, it is significantly cleaner than the stovetop method. Because the heat is even and enclosed within the oven, you avoid the violent popping and heavy grease splattering associated with pan-frying. Cleanup is often as simple as tossing a sheet of foil in the trash.
Can I add sugar or maple syrup to my bacon? Absolutely. For a beautiful candied effect, you can brush the bacon with pure maple syrup or sprinkle it with brown sugar during the last 5 minutes of baking. Adding sugars too early in the cooking process can cause them to burn completely before the bacon fat has had a chance to fully render.
Bacon in the Oven
Ingredients
- 12 strips Bacon Standard or thick-cut
- ½ teaspoon Ground black pepper Optional
- Equipment Needed:
- Rimmed baking sheet Half-sheet pan
- Oven-safe wire baking rack Optional, but recommended
- Aluminum foil or parchment paper
Instructions
- Prep the Baking Station: If you have an oven-safe wire baking rack, place it inside a rimmed sheet pan. For easier clean-up, line the bottom of the sheet pan with aluminum foil first. Lay out the bacon strips in a single layer on the wire rack (or directly on the foil/parchment if not using a rack). Ensure the strips do not overlap to guarantee even airflow. Sprinkle with ground black pepper, if using.
- The Cold Bake: Place the baking sheet with the bacon directly into a cold oven. Set the oven temperature to 375°F (190°C).
- Bake and Monitor: Bake the bacon for 15-20 minutes total. If you are baking multiple pans, rotate them from the top rack to the bottom rack halfway through the cooking time. If you are baking directly on foil without a wire rack, use tongs to gently flip the strips halfway through to ensure even crisping.
- Check for Doneness: Begin monitoring the bacon closely around the 18-minute mark. Cooking times will vary depending on the fat content and thickness of your specific brand. The bacon is done when it achieves a dark tan color and the fat is rendered. (Note: If using thick-cut bacon, plan to cook for an additional 5 to 10 minutes.)
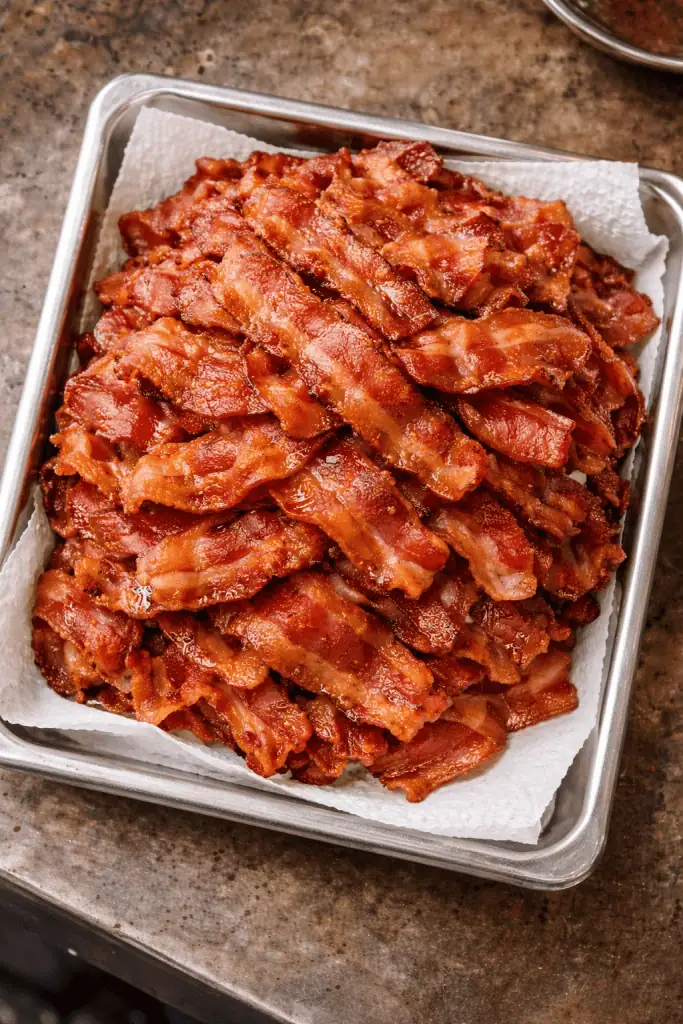
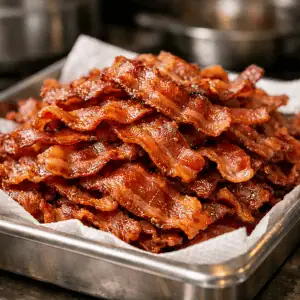
- Drain and Cool: Remember that bacon will continue to crisp up as it cools down. Once removed from the oven, immediately use tongs to transfer the hot strips to a plate lined with paper towels to drain excess grease.
- Save the Grease: Allow the remaining bacon grease in the pan to cool slightly, then carefully pour it into a heat-proof jar to save for future cooking.