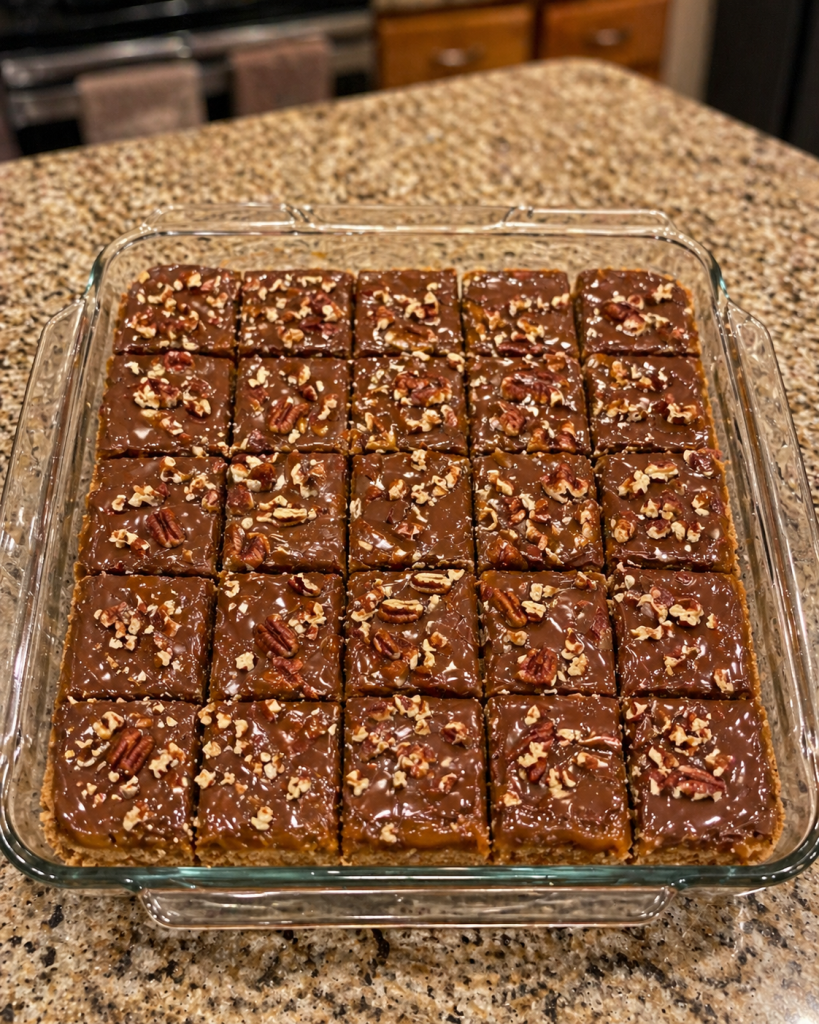
Caramel Chocolate Crunch Bars

Caramel Chocolate Crunch Bars (Easy Recipe)
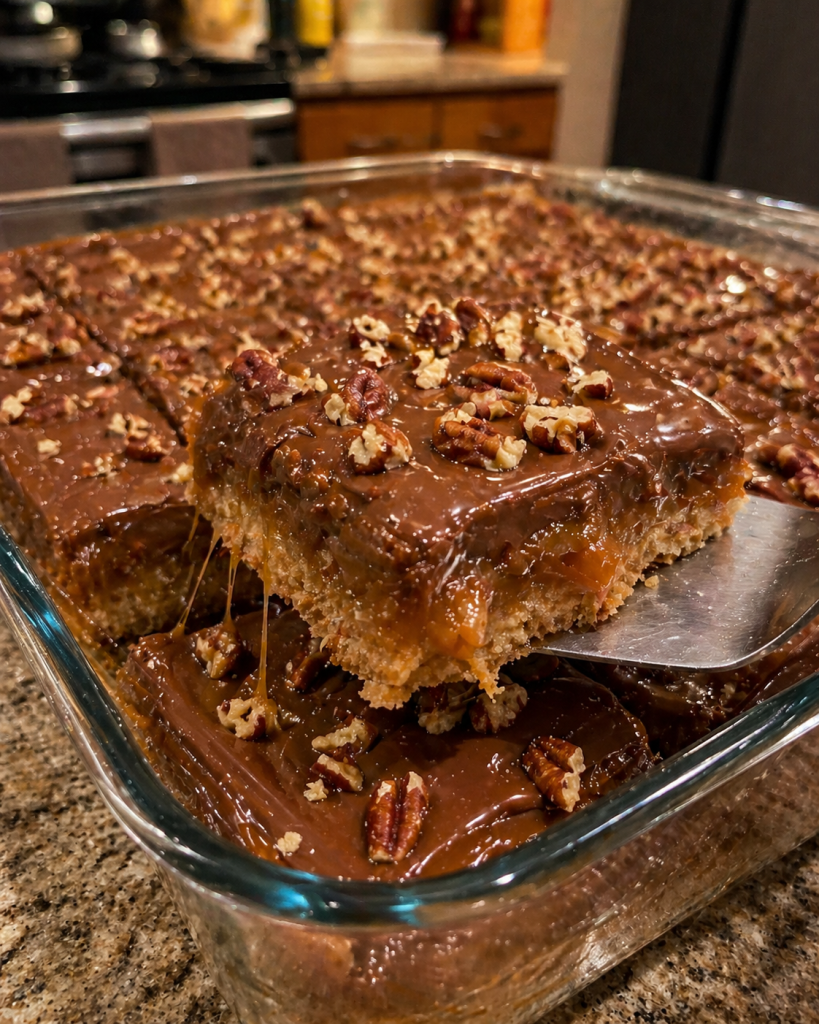
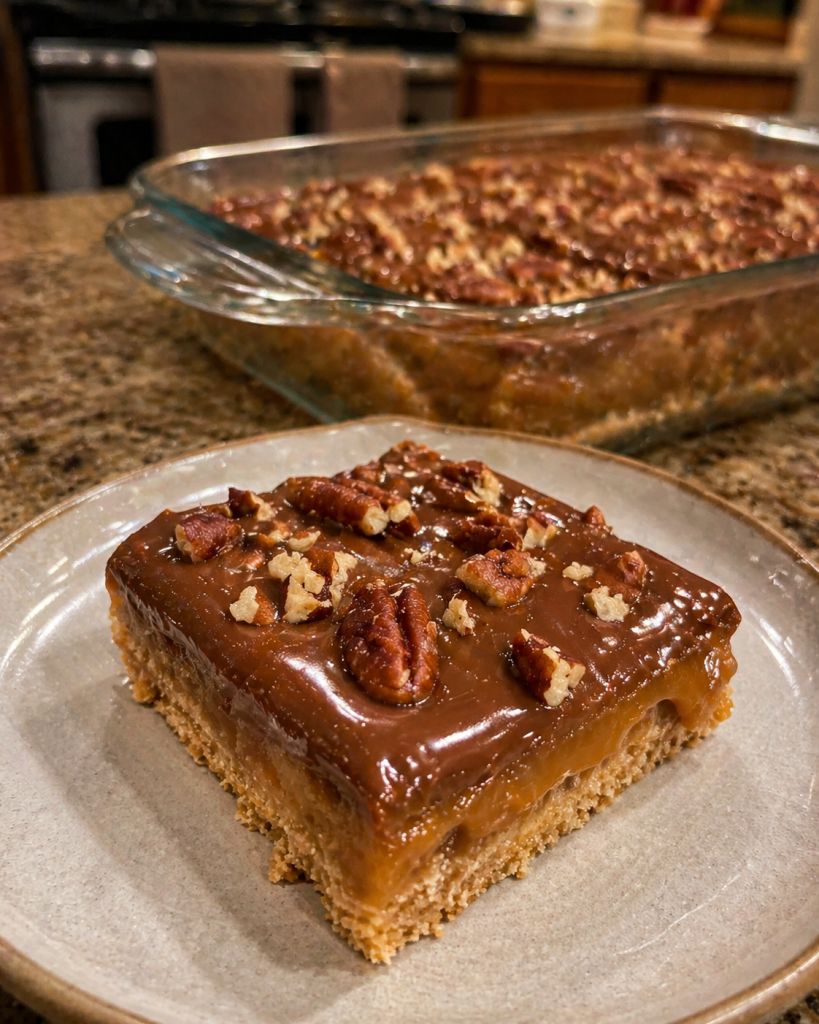
If you are looking for a dessert that perfectly balances rich chocolate, gooey caramel, and a buttery, melt-in-your-mouth shortbread crust, these Caramel Chocolate Crunch Bars are going to become your new go-to recipe.
They look like they came straight from a high-end gourmet bakery, but they are incredibly easy to make right in your own kitchen.
Whether you are baking for a holiday gathering, a neighborhood potluck, or simply craving a decadent sweet treat on a weekend afternoon, these bars deliver on every single level.
The combination of textures is what makes this recipe truly special. You get the crisp, buttery snap of the crust, the molten, chewy sweetness of the caramel, and the rich indulgence of two different types of chocolate.
Plus, the added crunch from the nuts elevates the entire flavor profile, making it impossible to stop at just one square.
Why You Will Love This Recipe
Finding a dessert that looks impressive but requires minimal prep work is always a massive win. Here is why these caramel chocolate bars deserve a permanent spot in your recipe rotation:
- Incredible Texture Contrast: The crispy shortbread base pairs perfectly with the soft, gooey caramel and the satisfying crunch of melted chocolate chunks.
- Accessible Ingredients: You only need seven simple, everyday ingredients that you likely already have sitting in your pantry.
- Crowd-Pleasing Flavors: Sweet, salty, rich, and buttery-it is a flavor combination that kids and adults both absolutely love.
- Perfect for Make-Ahead: These bars actually slice better and taste even more incredible the next day, making them the ultimate make-ahead dessert for parties.
Essential Ingredients and Substitutions
To get the best possible flavor and texture, it helps to understand why each ingredient is used. Here is everything you need to know about what goes into these crunch bars.
All-Purpose Flour: This forms the structure of our shortbread base. If you want a more tender crumb, make sure you measure your flour using the spoon-and-level method so you do not pack too much into the cup.
Brown Sugar: Using brown sugar instead of white sugar in the crust adds a deep, molasses-like flavor that complements the caramel topping perfectly. It also helps keep the crust slightly chewy.
Unsalted Butter: Butter is the fat that binds the crust together. Using melted, unsalted butter allows you to control the exact sodium level of the dessert. If you only have salted butter on hand, simply use it and skip adding any extra salt to the dough.
Caramel Sauce: A thick, high-quality caramel sauce is crucial here. You can use a premium store-bought jar for convenience, or make a homemade batch if you prefer. Just make sure it is thick enough that it won't completely soak into the crust during baking.
Chocolate Chunks: Chocolate chunks tend to melt beautifully, creating gorgeous pools of chocolate throughout the caramel layer. Semi-sweet chunks provide a great balance to the super-sweet caramel.
Chopped Nuts (Optional): Pecans, walnuts, or almonds add a fantastic earthy crunch. Toasting them lightly before adding them to the bars will bring out even more of their natural oils and flavor.
Chocolate Chips: Adding these right at the end creates a distinct top layer of chocolate. You can use milk, dark, or semi-sweet depending on your personal preference.
Step-by-Step Instructions for Perfect Bars
While this recipe is incredibly straightforward, following these specific steps will ensure your layers bake perfectly and your caramel does not burn.
Step 1: Prep Your Pan and Oven Always start by preheating your oven to 350°F (175°C). Line a 9x13-inch baking dish with parchment paper, leaving a little overhang on the sides. This creates a "sling" that lets you easily lift the entire batch out later for clean slicing.
Step 2: Mix the Shortbread Crust In a large mixing bowl, combine your all-purpose flour, brown sugar, and melted butter. Use a fork or a spatula to mix everything together until it resembles coarse, wet sand.
Step 3: Press and Pre-Bake Transfer the crumbly dough into your prepared baking dish. Use the bottom of a measuring cup or your hands to press the mixture firmly and evenly across the bottom. Bake for 10 to 12 minutes, just until the edges turn lightly golden.
Step 4: Add the Caramel Layer As soon as you pull the hot crust from the oven, immediately pour your thick caramel sauce evenly over the top. Adding it while the crust is hot helps the caramel spread easily and adhere to the base.
Step 5: Add the First Chocolate Layer and Bake Sprinkle your chocolate chunks and chopped nuts (if you are using them) evenly over the warm caramel. Place the pan back into the oven for exactly 10 minutes. Watch closely-you want the caramel to get bubbly and the chocolate chunks to soften and melt, but you do not want the caramel to scorch.
Step 6: The Final Chocolate Touch Remove the bubbling pan from the oven and immediately sprinkle your regular chocolate chips over the top. Let the residual heat soften the chips for a minute or two. You can leave them whole for texture, or use an offset spatula to gently swirl and spread them into a smooth chocolate layer.
Step 7: The Crucial Cooling Process This is the hardest part, but you must let the bars cool completely at room temperature. If you try to cut them while warm, the caramel will run everywhere. For the cleanest slices, pop the pan into the refrigerator for an hour after it has reached room temperature.
Expert Tips for Bakery-Quality Results
- Do Not Overbake the Crust: The shortbread will continue to bake when you put it back in the oven with the toppings. Pull it out the first time as soon as it just begins to look golden.
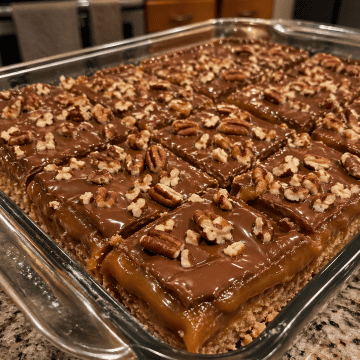
- The Hot Knife Trick: For razor-sharp, professional-looking slices, run a large chef's knife under hot water, wipe it completely dry with a towel, and then press down firmly to cut the bars. Repeat this wiping process between every single slice.
- Salt Flake Finish: If you love the trendy sweet-and-salty flavor profile, sprinkle a pinch of flaky sea salt (like Maldon) over the top chocolate layer right before it sets.
How to Store and Freeze
Room Temperature: You can store these bars in an airtight container at room temperature for up to 3 days. Keep them in a cool, dry place away from direct sunlight so the chocolate does not melt.
In the Refrigerator: For a firmer texture and a longer shelf life, store them in the fridge for up to a week. They actually taste incredible straight out of the cold!
Freezing Instructions: These bars freeze exceptionally well. Cut them into individual squares and wrap each one tightly in plastic wrap. Place the wrapped bars into a freezer-safe zip-top bag and freeze for up to 3 months. Thaw overnight in the fridge or at room temperature for an hour before enjoying.
Frequently Asked Questions
Can I use a different size pan? Yes. A 9x13-inch pan yields standard, slightly thinner bars. If you prefer a very thick crust and filling, you can use an 8x8-inch or 9x9-inch baking dish. You may need to add a few extra minutes to the crust's initial baking time if you use a smaller pan.
Why did my caramel sink into the crust? This usually happens if your caramel sauce is too thin or watery. Be sure to use a high-quality, thick caramel sauce. Additionally, do not skip pre-baking the crust; the pre-bake creates a firm protective barrier that stops the caramel from soaking all the way through to the bottom.
Can I make these gluten-free? Absolutely. Simply swap the all-purpose flour for your favorite 1:1 gluten-free baking flour blend. Make sure your blend contains xanthan gum so the shortbread holds its shape and doesn't crumble when sliced.
Caramel Chocolate Crunch Bars
Ingredients
- 2 cups All-purpose flour spooned and leveled
- ½ cup Brown sugar packed
- 1 cup Unsalted butter melted
- 1 cup Caramel sauce thick, high-quality store-bought or homemade
- 1 cup Chocolate chunks semi-sweet or dark
- ½ cup Chopped nuts pecans, walnuts, or almonds - optional
- ½ cup Chocolate chips milk or semi-sweet
- Optional: Flaky sea salt for garnish
Instructions
- Preheat and Prep: Preheat your oven to 350°F (175°C). Line a 9x13-inch baking dish with parchment paper, leaving enough overhang on the sides to easily lift the bars out later. Lightly grease the parchment to prevent any caramel from sticking.
- Make the Crust: In a large mixing bowl, combine the all-purpose flour, brown sugar, and melted butter. Stir with a fork or spatula until the mixture is well combined and resembles wet sand.
- Pre-bake the Crust: Pour the crumbly dough into your prepared baking dish. Press it firmly and evenly into the bottom to form a solid crust. Bake for 10 to 12 minutes, or until the edges are lightly golden.
- Add the Caramel: Remove the pan from the oven. While the crust is still hot, immediately pour the thick caramel sauce evenly over the top.
- Add First Toppings: Sprinkle the chocolate chunks and chopped nuts (if using) evenly over the warm caramel layer.
- Bake the Toppings: Return the pan to the oven and bake for an additional 10 minutes. Watch closely-you want the caramel to be gently bubbling and the chocolate chunks to be soft and melted.
- Final Chocolate Layer: Remove the pan from the oven and immediately sprinkle the chocolate chips over the top. Allow the heat of the pan to soften them for a minute or two. You can leave them as chips for a textured look, or gently spread them into a smooth layer with a spatula.
- Cool Completely: Allow the bars to cool completely in the pan at room temperature. For the cleanest slices, place the pan in the refrigerator for at least 1 hour after reaching room temperature before cutting them into squares.
Notes
- Slicing Tip: Lift the entire block of bars out of the pan using the parchment paper overhang. Use a large, sharp knife run under hot water and wiped dry to make clean, professional cuts.
- Storage: Store leftovers in an airtight container at room temperature for 3 days, or in the refrigerator for up to a week.
- Freezing: Wrap individual squares in plastic wrap and place in a freezer-safe bag for up to 3 months. Let thaw before serving.