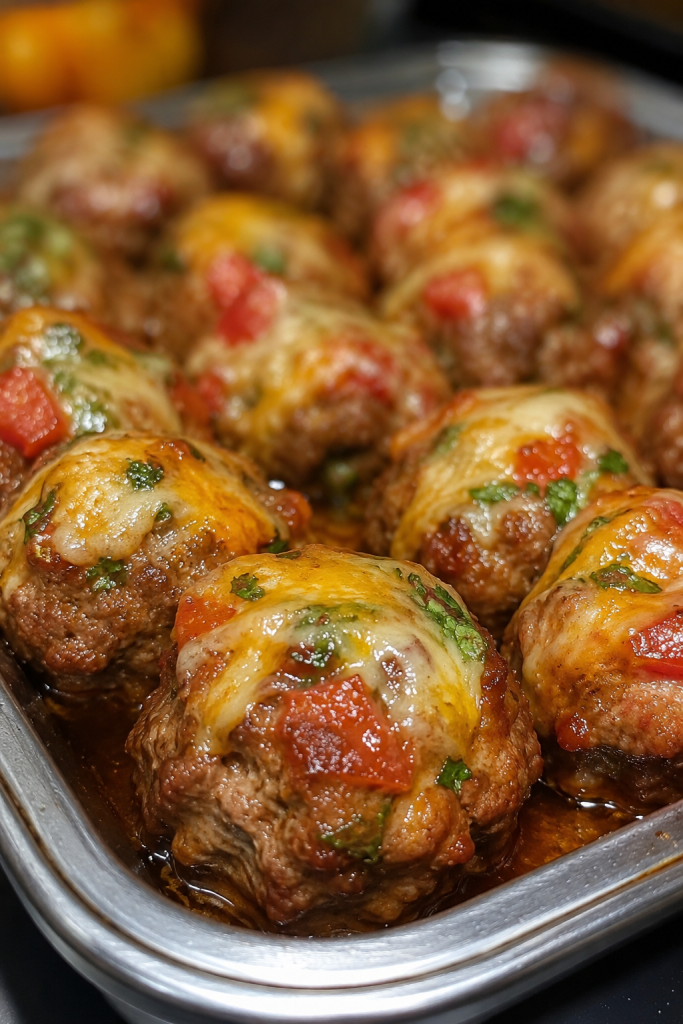
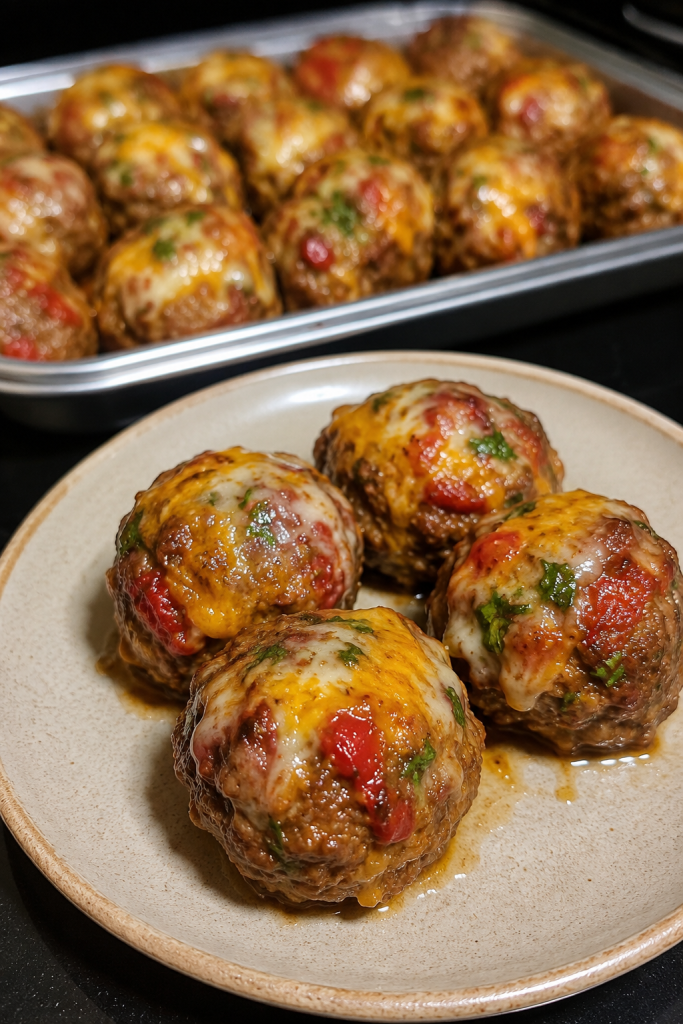
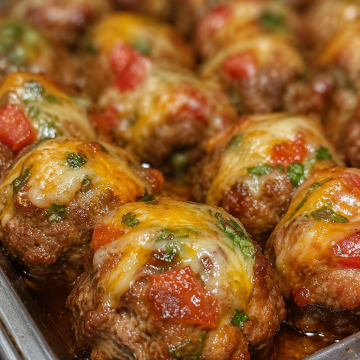
Cream Cheese Sausage Balls

Welcome to Allwecook!
Are you searching for the ultimate bite-sized appetizer that will completely vanish at your next holiday party or game day gathering?
These incredibly tender Cream Cheese Sausage Balls are a massive upgrade to the traditional, often dry, retro appetizer recipe.
This modern version relies on a brilliant culinary secret to achieve a perfectly moist, melt-in-your-mouth texture every single time.
It is the absolute perfect savory finger food to serve for a festive Christmas morning breakfast or a crowded weekend tailgate.
Because this recipe utilizes only four simple grocery store staples, you can easily whip up a massive batch at a moment's notice.
The combination of spicy ground meat, sharp melted cheese, and a tender biscuit crumb creates a highly addictive flavor profile.
Whether you serve them alongside a sweet maple syrup dip or a spicy mustard sauce, they are guaranteed to steal the show.
Let us dive right into the brilliant culinary science that makes these rich, cheesy bites an absolute necessity for your recipe box.
Why This Recipe Works
The fundamental brilliance of this recipe lies in the scientific manipulation of moisture and fat within a baking mix dough.
Traditional sausage balls usually rely entirely on the fat from the ground meat and shredded cheese to hydrate the dry biscuit mix.
This older method frequently results in a crumbly, incredibly heavy texture that can feel excessively dry on the palate.
By introducing a full block of cream cheese into the mixture, you completely revolutionize the structural integrity of the dough.
The cream cheese adds vital moisture and heavy milk fat that deeply tenderizes the starches found in the dry baking mix.
As these savory bites bake in the hot oven, the fat from the spicy pork sausage slowly renders out into the dough.
This rendered pork fat lightly fries the bottom of each ball, creating a beautifully crispy, golden-brown exterior crust.
Simultaneously, the baking mix provides just enough leavening action to puff the dough slightly, ensuring the interior remains light and fluffy.
Key Ingredient Notes
Choosing the correct foundational components is absolutely essential to ensure your savory appetizers bake up perfectly plump and flavorful.
Hot Pork Sausage: Utilizing a spicy ground pork sausage is highly recommended because the bold spices perfectly cut through the heavy richness of the dairy. The natural fat content in the pork is also crucial for preventing the baked biscuit dough from drying out.
Cream Cheese: This soft, tangy dairy product acts as the ultimate moisture engine and binder for the entire recipe. It must be completely softened to room temperature to ensure it perfectly emulsifies with the raw meat without leaving unappetizing white lumps.
Baking Mix: A commercial baking mix, like Bisquick, acts as the structural backbone of the recipe, containing perfectly balanced ratios of flour, salt, and leavening agents.
Shredded Cheddar Cheese: Sharp cheddar provides a deeply savory, tangy flavor note that beautifully complements the spicy meat. Shredding your own cheese from a block ensures a much smoother melt compared to pre-bagged cheeses coated in anti-caking starches.
(Remember, you will find the exact ingredient measurements and step-by-step instructions in the recipe card at the bottom of this page!)
Easy Substitutions & Variations
This classic party appetizer is wonderfully versatile and incredibly easy to customize based on your specific dietary needs or pantry inventory.
If you are extremely sensitive to heat, you can easily substitute the hot pork sausage for a mild, sweet, or sage-flavored breakfast sausage.
Need to make this recipe completely gluten-free for your party guests?
Simply swap the traditional baking mix for a high-quality, certified gluten-free baking mix, utilizing the exact same ratio.
For a slightly leaner option, you can use ground turkey sausage instead of pork, but you may need to add a splash of olive oil to compensate for the missing fat.
Do you want to completely elevate the cheese flavor profile?
Try substituting the sharp cheddar for spicy pepper jack, smoky Gouda, or a rich Gruyère cheese for a sophisticated, gourmet twist.
You can also fold in a handful of finely chopped green chives or crispy bacon bits for an incredible burst of extra savory flavor.

Pro Tips for Success
Following these strategic culinary techniques will guarantee your cheesy sausage bites turn out absolutely flawless every single time.
Use a Stand Mixer
Mixing raw meat, sticky cream cheese, and dry flour by hand is incredibly tedious and often results in an unevenly mixed dough. Utilizing a stand mixer with a paddle attachment effortlessly forces the fats and starches to emulsify perfectly in just a few minutes.
Chill the Dough
You absolutely must place your fully formed dough balls into the refrigerator to chill before baking them in the hot oven. Chilling solidifies the soft cream cheese and pork fat, ensuring the balls maintain their perfectly round shape instead of melting into flat puddles.
Utilize a Cookie Scoop
Always use a spring-loaded cookie scoop to portion out your raw meat mixture onto the prepared baking sheets. This guarantees that every single appetizer is the exact same size, ensuring they all finish baking at the exact same time.
Storage and Reheating
These savory appetizers make absolutely fantastic leftovers for a quick, protein-packed breakfast on busy weekday mornings.
Store any remaining cooled portions in an airtight container in the refrigerator, where they will safely maintain their flavor and texture for up to four days.
Can you freeze these cream cheese sausage balls?
Yes, they freeze exceptionally well both before and after baking, making them the ultimate make-ahead holiday appetizer.
To freeze them raw, flash-freeze the unbaked balls on a baking sheet until solid, then transfer them to a heavy-duty freezer bag for up to three months.
When it comes time to reheat your fully cooked leftovers, the oven or an air fryer are your absolute best options for reviving that crispy exterior.
Warm the portions in a 350°F oven for about ten minutes, or utilize an air fryer for just a few minutes until they are sizzling hot.
Avoid using the microwave if possible, as the intense steam will cause the biscuit exterior to become highly rubbery and tough.
Frequently Asked Questions (FAQ)
Why did my sausage balls spread out completely flat in the oven?
Appetizers that spread into flat, greasy puddles usually occur if the raw dough was not chilled properly before entering the hot oven. It can also happen if your cream cheese was accidentally melted in the microwave rather than gently softened at room temperature.
Can I prepare this recipe ahead of time?
Absolutely! You can easily mix the dough, form the balls, and store them covered in the refrigerator up to two days before your event. You can then bake them straight from the fridge, simply adding an extra minute or two to the total cooking time.
Why did my appetizers turn out slightly dry?
Dry sausage balls almost always happen if you accidentally pack too much baking mix into your measuring cups, throwing off the moisture ratio. Always spoon your dry baking mix into the measuring cup and level it off with a knife, rather than scooping directly from the box.
Cream Cheese Sausage Balls
Ingredients
- 1 pound hot pork sausage
- 8 ounce block cream cheese softened
- 2 cups Bisquick baking mix
- 1 cup shredded cheddar cheese
Instructions
- Preheat & Prep: Preheat oven to 350°F (175°C). Line two large baking sheets with parchment paper for easy cleanup.
- Mix Meat & Cream Cheese: In the bowl of a stand mixer, mix together the 1 pound hot pork sausage and the 8 ounce block of softened cream cheese. (Note: this can also be done in a large bowl with a hand mixer or thoroughly by hand).
- Add Baking Mix: Add in the 2 cups of Bisquick baking mix. Stir the mixture on low speed until the dry mix is completely incorporated into the meat.
- Fold in Cheese: Add in the 1 cup of shredded cheddar cheese. Feel free to be generous with your cheese measurements; add more if you like them extra cheesy! Stir until evenly combined.
- Form the Balls: Scoop up the meat mixture and form it into 1-inch balls, placing them evenly on the prepared baking sheets. I find this easiest with a spring-loaded cookie scoop. If they don't come out round enough, you can just roll them around in your clean hands a bit to smooth the edges.
- Chill: Pop the baking sheets in the refrigerator for exactly 10 minutes to chill. This crucial step will help keep the balls from spreading out and flattening while baking.
- Bake & Serve: Once they are chilled, place the baking sheets in the preheated oven and bake for about 25 minutes, or until golden brown and cooked through. Let them cool slightly, then serve warm!