

The Ultimate Sandwich Crust Garlic Rolls: Zero Waste & Maximum Flavor
Sandwich Crust Garlic Rolls – There is something undeniably magical about taking a humble, often overlooked ingredient and transforming it into a warm, golden, buttery masterpiece. If you have ever found yourself staring at a bag of untouched sandwich bread crusts, you might have wondered if there was a better destiny for them than the compost bin or becoming plain, uninspired breadcrumbs. I am thrilled to tell you that there is.
These Sandwich Crust Garlic Rolls are about to become your new favorite kitchen hack. Not only are they a brilliant way to reduce food waste, but they also taste like they came straight out of a professional bakery oven. Welcome to another delicious discovery here at All We Cook, where we are all about maximizing flavor without complicating your time in the kitchen. Today, we are turning everyday leftovers into an unforgettable side dish.
The Magic of Upcycling Bread Crusts
In today’s fast-paced world, finding zero-waste recipes that actually taste good can feel like a challenge. The beauty of this recipe lies in its sheer simplicity. You are taking something that is traditionally discarded—the sturdy edges of sandwich bread—and elevating it with the classic, universally loved flavor profile of garlic, butter, and herbs.
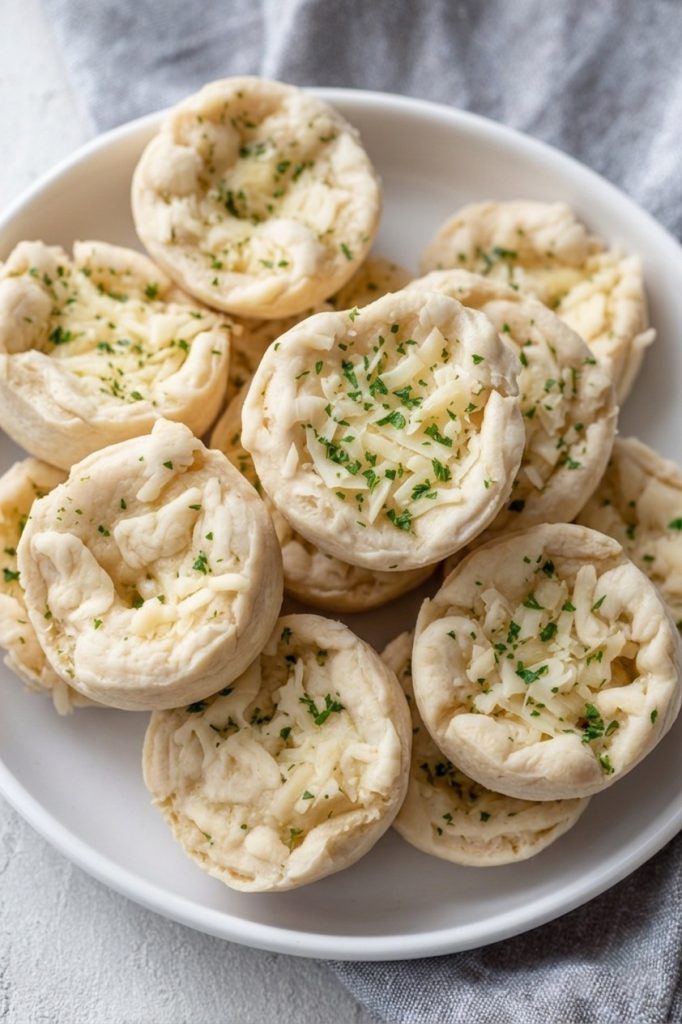
The crusts are naturally more robust than the center of the slice, which means they hold up beautifully to being brushed with rich garlic butter and baked at a high temperature. The result? A roll that boasts a beautifully crispy exterior while remaining tender, soft, and utterly crave-worthy on the inside.
Why You Will Be Completely Obsessed With This Recipe
It is not an exaggeration to say that once you make these, you will intentionally start saving your bread crusts just to have an excuse to bake another batch. Here is why this recipe deserves a permanent spot in your culinary rotation:
- Ultimate Comfort Food: The aroma of garlic and butter roasting in the oven is universally comforting. It makes your house smell incredible and instantly builds anticipation for dinner.
- Beginner-Friendly: You do not need to be a master baker to pull these off. There is no yeast to proof, no dough to knead, and no lengthy resting times. If you can use a rolling pin and an oven, you can master this recipe on your first try.
- Incredibly Fast: Clocking in at under 30 minutes from start to finish, these are the ultimate last-minute side dish for busy weeknights when you need something quick to accompany your meal.
- Highly Customizable: This recipe is a fantastic blank canvas. You can keep it classic with just garlic and herbs, or you can load it up with your favorite melting cheeses, red pepper flakes, or a dash of truffle oil for a gourmet twist.
Breaking Down the Ingredients
To achieve the best possible flavor and texture, it helps to understand the role of each simple ingredient in this recipe.
- The Sandwich Bread Crusts: The undisputed star of the show. While white bread crusts yield a classic, soft, and pillowy roll, you can absolutely use whole wheat or multigrain crusts for a slightly nuttier flavor and an added boost of fiber. The key is ensuring the bread is still relatively soft so it can be rolled easily.
- The Butter: Unsalted butter is highly recommended here. It allows you to completely control the sodium level of your final product. The butter adds richness, helps bind the garlic and herbs to the bread, and is the primary catalyst for achieving that gorgeous, golden-brown crust.
- Fresh Garlic: While garlic powder can work in a pinch, fresh minced garlic is non-negotiable if you want that authentic, punchy, aromatic garlic bread experience. It melts into the butter and infuses every single bite.
- Fresh Parsley: A pop of green not only makes these rolls visually stunning, but the fresh, peppery bite of parsley perfectly cuts through the richness of the butter and cheese.
- Cheese (Optional but Recommended): A sprinkle of freshly grated mozzarella or parmesan takes these rolls from great to extraordinary, adding a gooey, savory element that pulls the whole dish together.
Step-by-Step Guide to the Perfect Garlic Roll
Achieving bakery-quality rolls at home is all about the technique. Follow these simple steps for flawless results every time.
1. Prep and Flatten: Begin by collecting your sandwich crusts. Lay them flat on a clean surface. Taking a rolling pin (or a smooth drinking glass if you don’t have one), gently but firmly roll over each crust. This step is absolutely crucial. Flattening the bread compresses the air pockets, making the crust pliable and easy to roll up tightly without breaking.
2. Concoct the Garlic Butter: In a small mixing bowl, combine your melted unsalted butter, a splash of high-quality olive oil (which helps raise the smoke point and adds a fruity depth of flavor), finely minced fresh garlic, chopped parsley, salt, and freshly cracked black pepper. Whisk until thoroughly combined into a fragrant, glossy mixture.
3. Brush and Roll: Take a pastry brush and generously coat each flattened bread crust with the garlic butter. If you are using cheese, now is the time to add a light, even sprinkle. Starting from one end, roll the crust up as tightly as you can into a neat little spiral.
4. The Final Touch: Place each roll onto a parchment-lined baking sheet. Make sure to place them seam-side down so they don’t unravel while baking. Take any leftover garlic butter and give the tops of the rolls one final, generous brush.
5. Bake to Perfection: Pop them into a preheated 350°F (180°C) oven. Let them bake for about 12 to 15 minutes. You are looking for a beautiful golden-brown color and crisp edges.

What to Serve With Your Garlic Rolls
These versatile little bites pair beautifully with almost anything. They are the perfect companion to a steaming bowl of creamy tomato basil soup or a rich, hearty lasagna soup. Serve them alongside a classic spaghetti bolognese to soak up the extra sauce, or place them in a basket as a crowd-pleasing appetizer for your next dinner party. They even make a fantastic standalone afternoon snack when served with a side of warm marinara sauce for dipping.
Storage and Reheating Secrets
If you somehow manage to have leftovers, proper storage is key. Allow the rolls to cool completely to room temperature before transferring them to an airtight container. They will stay fresh in the refrigerator for up to three days. You can also freeze them for up to a month! To reheat, skip the microwave—it will make the bread rubbery. Instead, place them on a baking sheet in a 320°F (160°C) oven for 5 to 7 minutes to restore that delightful exterior crunch.

Sandwich Crust Garlic Rolls
Ingredients
- 10 soft sandwich bread crusts white, wheat, or multigrain
- 4 tbsp unsalted butter melted
- 1 tbsp olive oil
- 2 cloves garlic finely minced
- 1 tbsp fresh parsley finely chopped (or 1 tsp dried parsley)
- ¼ tsp salt adjust to taste
- ¼ tsp black pepper
- 3 tbsp grated mozzarella or parmesan cheese optional, for a cheesy center
Instructions
- Preheat the Oven: Preheat your oven to 350°F (180°C). Line a baking tray with high-quality parchment paper and set aside.
- Flatten the Bread: Lay your bread crusts flat on a clean surface. Using a rolling pin or a smooth glass, gently roll over each slice to flatten it. This prevents the bread from tearing when rolled.
- Mix the Garlic Butter: In a small bowl, whisk together the melted butter, olive oil, minced garlic, chopped parsley, salt, and black pepper until well combined.
- Assemble the Rolls: Using a pastry brush, generously coat one side of each flattened crust with the garlic butter mixture. If using cheese, sprinkle a small amount evenly over the buttered side.
- Roll and Arrange: Tightly roll each crust into a small spiral log. Place the rolls seam-side down onto your prepared baking tray so they hold their shape.
- Glaze: Brush any remaining garlic butter over the tops of the arranged rolls for maximum golden-brown crispness.
- Bake: Bake for 12–15 minutes, or until the rolls are beautifully golden and slightly crispy on the edges.
- Serve: Remove from the oven and allow them to cool for 2-3 minutes. Serve warm alongside your favorite soup, pasta, or dipping sauce. Enjoy!