Golden, crispy on the outside and irresistibly soft on the inside—this 3-Ingredient Pan-Fried Halloumi is proof that simple can be seriously delicious. In just minutes, you’ll transform salty, squeaky halloumi into perfectly seared slices with a rich, savory bite and a hint of caramelized goodness. Whether you’re serving it as a quick appetizer, adding it to salads, or enjoying it straight from the pan, this easy recipe delivers bold flavor with almost zero effort.
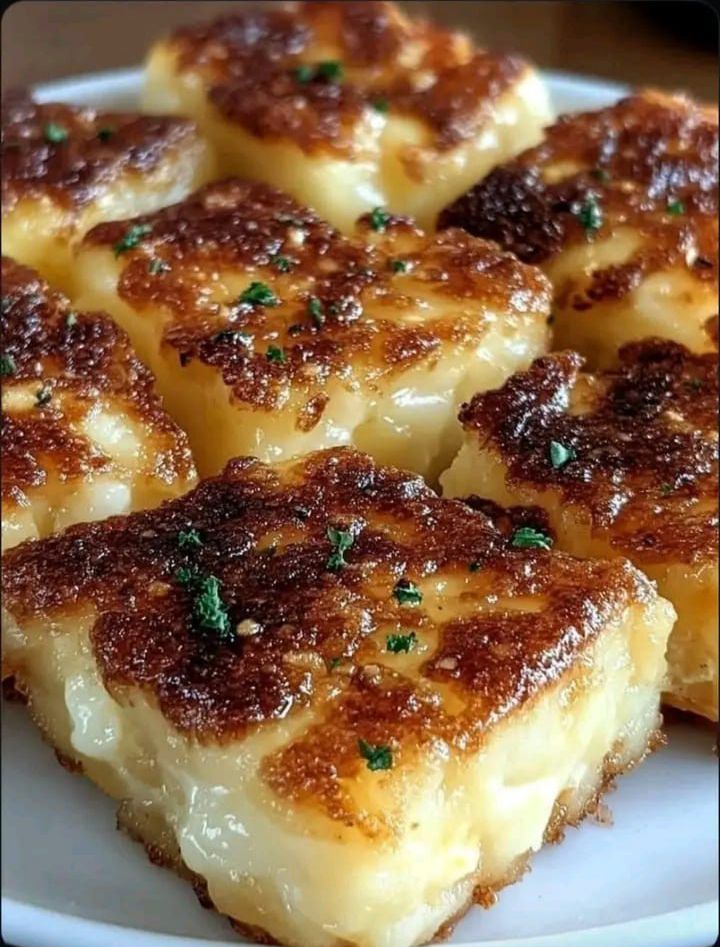
Crispy & Golden 3-Ingredient Pan-Fried Halloumi
There is something undeniably magical about a cheese that refuses to melt into a puddle when it hits a hot pan. If you have never experienced the crispy, golden, salty perfection of pan-fried halloumi, you are in for an absolute treat. This 3-Ingredient Pan-Fried Halloumi recipe takes an already incredible ingredient and elevates it into a show-stopping appetizer, snack, or savory side dish in less than ten minutes.
Whether you are looking for a quick bite to satisfy your savory cravings, a beautiful addition to a weekend meze platter, or a protein-packed topping for your lunchtime salad, this incredibly simple recipe delivers every single time. It is exactly the kind of effortless cooking that yields gourmet results, proving that you do not need a long grocery list to create something extraordinarily delicious.
What Exactly is Halloumi?
For the uninitiated, halloumi is a semi-hard, unripened cheese that traditionally hails from the Mediterranean island of Cyprus. Typically made from a mixture of goat’s and sheep’s milk (though cow’s milk is sometimes used commercially), it has a distinctive layered texture and a noticeably salty, slightly tangy flavor profile.
But what truly sets halloumi apart from your standard mozzarella or cheddar is its incredibly high melting point. Because of the way it is produced, halloumi can withstand direct, high heat without melting away. Instead of turning into a gooey mess, the exterior develops a beautiful, caramelized, deeply browned crust while the interior softens into a warm, chewy, and deeply satisfying bite. It is famously known as the “grilling cheese” or “frying cheese” for good reason. If you have ever noticed a slight “squeak” when you bite into it—much like fresh cheese curds—that is the hallmark of truly authentic, high-quality halloumi!
Why You Will Fall in Love with This Recipe
In the world of home cooking, we all need those reliable, back-pocket recipes that require almost zero prep but deliver massive flavor. Here is why this pan-fried halloumi is guaranteed to become a regular in your kitchen rotation:
- Lightning Fast: From the moment you pull the cheese out of the fridge to the moment you are taking your first bite, you are looking at under 10 minutes of total time.
- Minimal Ingredients: With just three pantry staples, you avoid a cluttered kitchen, complicated techniques, and a long grocery bill.
- Highly Versatile: It works seamlessly as a standalone appetizer, a side dish, a vegetarian main component, or a salad topper.
- Incredible Texture Contrast: The marriage of the ultra-crispy, golden-brown crust with the warm, soft interior is a sensory delight.
The 3 Simple Ingredients You Need
Because this recipe relies on so few components, quality is key. Here is what you need to gather:
- Halloumi Cheese (8 oz / 225g): You can find this in the specialty cheese section of most major grocery stores. One block is usually the perfect amount for 2 to 4 people to share as a snack.
- Olive Oil or Butter (1 Tablespoon): Olive oil provides a gorgeous, classic Mediterranean flavor and helps achieve that picture-perfect golden crust. If you want a richer, slightly nuttier finish, you can easily swap the olive oil for a pat of unsalted butter.
- Dried Oregano or Fresh Thyme Leaves (1/2 Teaspoon): This is the aromatic finishing touch that balances the saltiness of the cheese perfectly. While technically optional, adding a sprinkle of earthy herbs right as the cheese finishes cooking elevates the dish to a restaurant-quality level.
Step-by-Step Instructions for the Perfect Sizzle
Cooking halloumi is incredibly straightforward, but a few subtle techniques make all the difference between a mediocre fry and a spectacular one.
- Prep and Dry the Cheese: Start by slicing your block of halloumi into even pieces, about ½-inch thick. This thickness ensures the cheese is sturdy enough to flip but thin enough to warm all the way through. Crucial tip: Pat the slices thoroughly dry with paper towels. Halloumi often comes packaged in a little brine. Removing this surface moisture is the secret to a crispy crust; otherwise, the cheese will steam rather than fry, and the oil will splatter.
- Heat the Pan: Place a non-stick skillet or a well-seasoned cast-iron pan over medium heat. Add your olive oil (or butter). You want the oil shimmering and hot before the cheese goes in.
- Fry the Halloumi: Carefully lay the dried cheese slices into the skillet in a single layer. Do not overcrowd the pan. Let them sizzle undisturbed for about 2 to 3 minutes. You will see the edges starting to turn a beautiful golden brown. Flip each slice gently with a spatula and cook the other side for another 2 minutes until equally crisp.
- Add the Aromatics: Just after flipping the slices, sprinkle your dried oregano or fresh thyme leaves over the top. The residual heat from the cheese will awaken the oils in the herbs, releasing a mouth-watering fragrance.
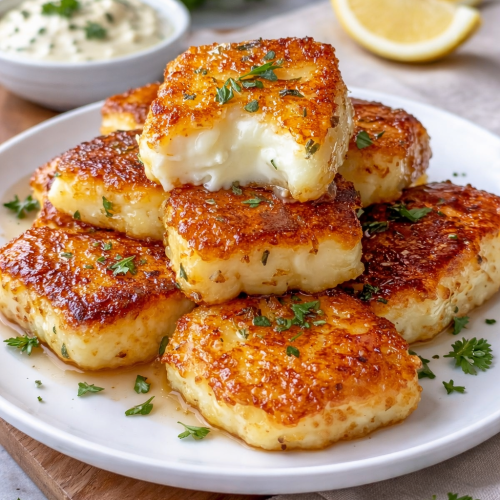
- Serve Immediately: Halloumi waits for no one! Transfer the perfectly fried slices to a plate and serve them while they are hot and the centers are beautifully soft.
Pro Tips for the Best Pan-Fried Halloumi
- Do Not Overcrowd the Pan: If you put too many slices in at once, the temperature of the pan will drop rapidly, and the cheese will release too much moisture, preventing that essential caramelization.
- Control Your Heat: Keep the stove at medium. Too hot, and the outside will burn before the inside softens. Too low, and it will take too long to crisp up, potentially drying out the cheese.
- A Squeeze of Citrus: While not part of the 3 main ingredients, a quick squeeze of fresh lemon juice right before serving cuts through the rich saltiness brilliantly.
How to Serve Your Halloumi
The beauty of this simple dish is how adaptable it is. Enjoy it straight off the plate as a savory snack, or try these delicious serving suggestions:
- In a Salad: Toss warm halloumi cubes into a vibrant salad with mixed greens, cherry tomatoes, cucumbers, kalamata olives, and a zesty vinaigrette.
- Vegetarian Wraps: Layer the fried slices inside a warm pita or wrap with hummus, roasted red peppers, and fresh baby spinach.
- Breakfast Upgrade: Serve it alongside poached eggs, roasted tomatoes, and avocado toast for a protein-packed morning meal.
- With Grilled Veggies: It pairs beautifully with roasted zucchini, eggplant, and a sweet drizzle of balsamic glaze or hot honey.
Frequently Asked Questions (FAQs)
Why is my halloumi rubbery? Halloumi is meant to have a satisfying, slightly chewy texture, but it can become overly rubbery and tough if it is cooked for too long or if it is eaten after it has cooled down completely. For the absolute best texture, always serve it piping hot straight from the pan.
Can I bake or air-fry halloumi instead? Absolutely! While pan-frying gives the most consistent edge-to-edge crust, you can bake the slices at 400°F (200°C) for about 10-12 minutes on a parchment-lined tray, flipping halfway. You can also air-fry them at 390°F (200°C) for 6-8 minutes until golden.
How do I store and reheat leftovers? While halloumi is vastly superior when enjoyed fresh, you can store cooled leftovers in an airtight container in the refrigerator for up to 3 days. To reheat, briefly flash them in a hot, dry skillet for a minute on each side until warmed through. Microwaving is not recommended as it will make the cheese extremely rubbery.
3-Ingredient Pan-Fried Halloumi
Ingredients
- 8 oz 225 g halloumi cheese
- 1 tbsp olive oil or unsalted butter for a richer flavor
- ½ tsp dried oregano or fresh thyme leaves
Instructions
- Prep the Cheese: Remove the halloumi from its packaging and slice it into even ½-inch thick pieces. Using paper towels, pat the cheese slices completely dry on both sides to remove any excess moisture. (This step is crucial for achieving a crispy crust and avoiding hot oil splatters).
- Heat the Pan: Place a non-stick skillet or cast-iron pan over medium heat. Add the olive oil or butter and allow it to heat until the oil is shimmering or the butter is fully melted and bubbling slightly.
- Fry to Perfection: Carefully place the halloumi slices into the hot pan in a single layer. Let them cook undisturbed for 2 to 3 minutes until the bottom is a deep, crispy golden brown.
- Flip and Season: Using a spatula, flip each slice over. Immediately sprinkle the dried oregano or fresh thyme evenly over the crispy tops. Cook for an additional 2 minutes until the second side is equally golden and crisp.
- Serve Hot: Remove the pan from the heat. Transfer the warm cheese to a serving platter and enjoy immediately while the center remains beautifully soft!
Notes
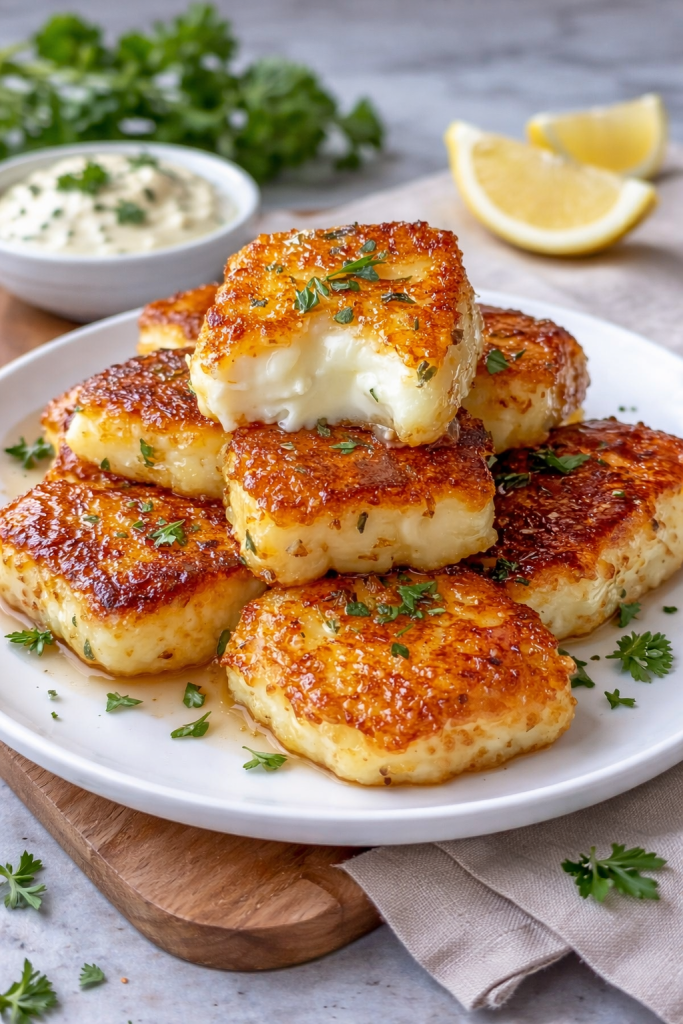
- Serving Suggestion: Serve with fresh lemon wedges, alongside a crisp Mediterranean salad, or tucked inside a warm pita wrap.
- Storage: Best eaten immediately. If you have leftovers, store them in the fridge for up to 3 days and reheat in a hot skillet for 1-2 minutes until warmed through.