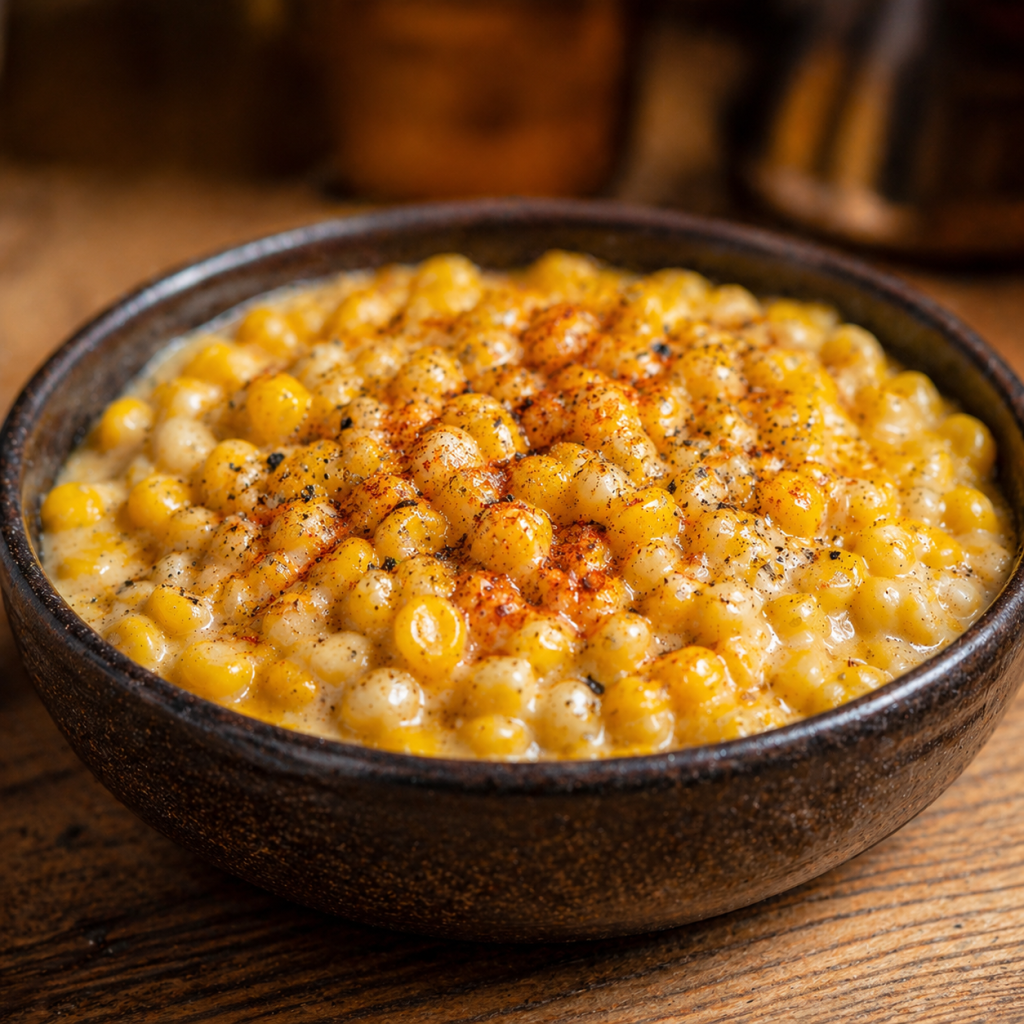
Honey Butter Skillet Corn
Honey Butter Skillet Corn is an easy 15 minute side dish with frozen corn, honey, butter, and cream cheese! So creamy, sweet, and delicious.
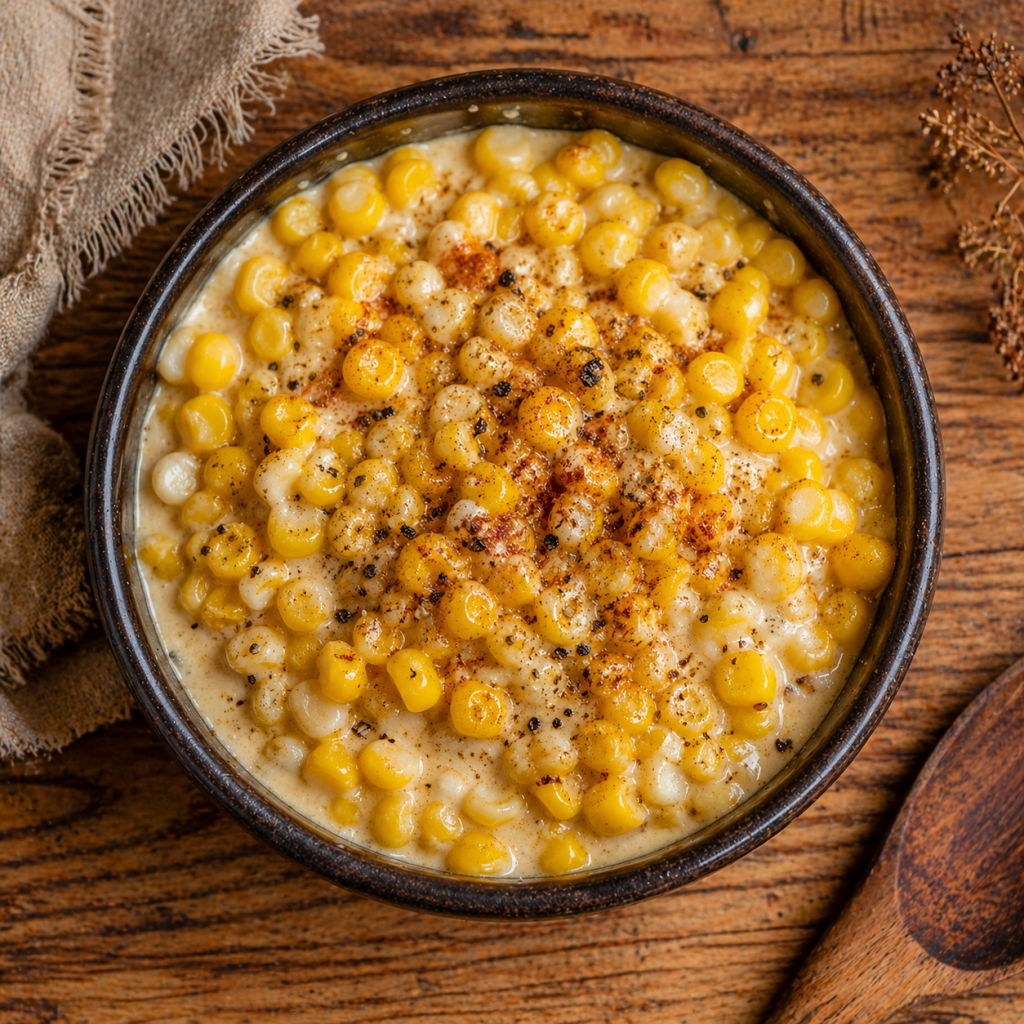
The Best Honey Butter Skillet Corn (Ready in 15 Minutes!)
If you are constantly on the hunt for a quick, family-friendly side dish that practically flies off the dinner table, you have just found your new secret weapon. This Honey Butter Skillet Corn is the ultimate blend of sweet, savory, and incredibly creamy flavors. Taking only 15 minutes from start to finish, it transforms a humble bag of frozen corn into a steakhouse-quality side dish.
Whether you are throwing together a busy weeknight meal with your husband or hosting a large holiday gathering, this recipe is guaranteed to be a crowd-pleaser. It is incredibly easy, requires minimal prep, and delivers maximum flavor with ingredients you probably already have in your fridge.
Why This Creamy Skillet Corn Recipe Works
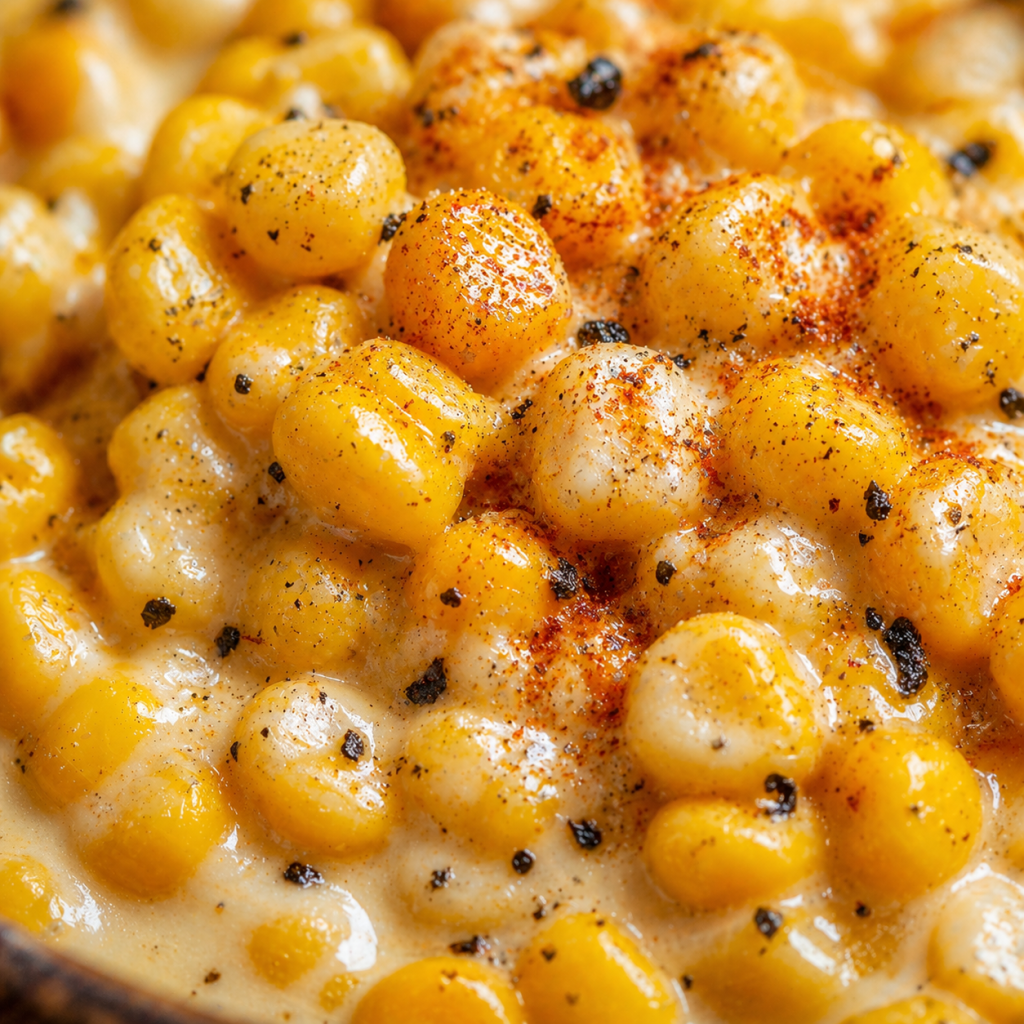
When it comes to elevating simple ingredients, the cooking method and flavor pairings are everything. This recipe works so perfectly because it relies on the classic, foolproof combination of sweet honey and rich, salty butter. But the true magic happens with the addition of cream cheese.
Rather than serving plain, watery vegetables, the cream cheese melts down to create a luxurious, velvety sauce that coats every single kernel. Cooking the corn in a skillet over medium-high heat allows the natural sugars in the corn and the added honey to slightly caramelize. This creates a depth of flavor that you simply cannot achieve by microwaving or boiling. Furthermore, by cooking the frozen corn directly in the skillet, you allow the moisture to evaporate naturally, preventing the dish from becoming soggy and ensuring a perfectly creamy texture every single time.

Essential Ingredients and Easy Substitutions
The beauty of this sweet corn side dish lies in its simplicity. You only need a handful of basic pantry staples to bring it together.
- Frozen Corn (16 oz bag): I highly recommend using a bag of Gold n' White corn (often called peaches and cream corn) for the best flavor and texture contrast. However, standard sweet yellow frozen corn works wonderfully too. There is no need to thaw it; you will cook it straight from the freezer!
- Butter (2 tablespoons): Salted butter is the best choice for this recipe. The salt helps balance the rich sweetness of the honey. If you only have unsalted butter on hand, simply increase the added salt by an extra pinch.
- Honey (2 tablespoons): This provides a natural, floral sweetness that complements the corn beautifully. Use your favorite local honey or a standard clover honey.
- Cream Cheese (2 ounces): This is the secret ingredient for that rich, creamy sauce. Ensure you cut it into small chunks before adding it to the skillet so it melts evenly. Full-fat cream cheese yields the best texture, but a reduced-fat (Neufchâtel) version will also work.
- Salt and Black Pepper (¼ teaspoon each): Essential for bringing all the flavors together. Freshly cracked black pepper adds a subtle, warm bite.
Step-by-Step Instructions for Perfect Skillet Corn
While the recipe is incredibly straightforward, following these specific steps ensures the cream cheese melts perfectly without separating, and the corn gets that beautiful, butter-glazed finish.
Step 1: Melt the Honey and Butter Begin by placing a large skillet over medium-high heat. Add your salted butter and honey to the pan. Allow them to melt together, stirring gently. You want the mixture to begin bubbling slightly, creating a sweet, hot base for the corn.
Step 2: Sauté the Frozen Corn Once the honey-butter mixture is melted and hot, pour the entire 16-ounce bag of frozen corn directly into the skillet. Stir well to ensure all the kernels are coated. Cook the corn for about 5 to 8 minutes. You want to stir it occasionally-not constantly. Letting it sit undisturbed for a minute or two at a time allows the honey to caramelize slightly against the hot pan. The corn is ready for the next step once it is heated through and any excess water from the freezing process has cooked off.
Step 3: Create the Creamy Sauce Reduce the heat to medium-low. Add the chunks of cream cheese, salt, and black pepper to the skillet. Stir continuously as the cream cheese begins to melt. It will slowly combine with the honey and butter to create a rich, glossy sauce. Let it cook for an additional 3 to 5 minutes, stirring frequently, until the sauce is completely smooth and coats the corn beautifully. Remove from heat and serve immediately.
Pro Tips for the Best Results
To make sure this dish turns out flawlessly every single time, keep these professional tips in mind:
- Use Cast Iron: If you have a well-seasoned cast-iron skillet, use it! Cast iron retains heat beautifully and helps achieve a better sear and caramelization on the corn.
- Soften the Cream Cheese: While you can add it straight from the fridge, letting the two ounces of cream cheese sit at room temperature while you prep the rest of the meal will help it melt into the sauce much faster.
- Don't Overcook the Cream Cheese: Once the cream cheese is melted and the sauce is creamy, take the skillet off the heat. Overcooking dairy at high temperatures can sometimes cause the sauce to split or become oily.
Delicious Variations and Add-Ins
This honey butter skillet corn is incredibly versatile. Here are a few ways you can customize the recipe to suit different tastes or pair it with specific meals:
- Make it Spicy: If you love a sweet-and-spicy combo, add half of a finely diced jalapeño to the skillet when you add the corn. You can also sprinkle in a pinch of cayenne pepper or chili powder.
- Add Bacon: Cook 3-4 strips of bacon until crispy, crumble them, and stir them into the corn right before serving for a smoky, salty crunch.
- Fresh Herbs: Brighten up the dish by stirring in a tablespoon of freshly chopped chives, parsley, or even cilantro right at the end.
- Cheesy Upgrade: For an even more decadent side dish, sprinkle a handful of grated parmesan or crumbled cotija cheese over the top before serving.
What to Serve with Honey Butter Corn
Because this dish walks the line perfectly between sweet and savory, it pairs beautifully with a wide variety of main courses. It is a fantastic accompaniment to summer barbecue staples like grilled chicken breasts, pulled pork sandwiches, or thick-cut steaks.
During the colder months, it serves as a comforting side dish for roasted chicken, pork chops, or even a classic meatloaf. It also holds its own on a holiday table, making a wonderful, stress-free addition to your Thanksgiving or Christmas dinner spread.
Storage, Reheating, and Make-Ahead Instructions
If you happen to have leftovers (which is rare!), they store and reheat wonderfully.
- To Store: Allow the skillet corn to cool completely to room temperature. Transfer it to an airtight container and store it in the refrigerator for up to 3 to 4 days.
- To Reheat: The best way to reheat this dish is on the stovetop over medium-low heat. Add a tiny splash of milk or a small pat of butter to help revive the creamy sauce, stirring until heated through. You can also microwave it in 30-second increments, stirring in between, until hot.
- Freezing: I do not recommend freezing the leftovers. Cream cheese-based sauces tend to separate and become grainy when frozen and thawed, altering the luxurious texture of the dish.
Frequently Asked Questions
Can I use canned corn instead of frozen? Yes, you absolutely can! If using canned corn, you will need two 15-ounce cans. Be sure to drain the corn very thoroughly before adding it to the skillet. Because canned corn is already fully cooked and not frozen, you will only need to sauté it in the butter and honey for 2 to 3 minutes to heat it through before adding the cream cheese.
Can I use fresh corn on the cob? Fresh corn is a wonderful option during the summer months. You will need about 4 to 5 large ears of corn to equal the 16 ounces required for the recipe. Cut the kernels off the cob and sauté them in the butter and honey mixture for about 8 to 10 minutes, or until tender, before proceeding with the cream cheese step.
Why is my sauce watery? If your sauce turned out watery, it is likely because the frozen corn released a lot of moisture that wasn't fully cooked off before the cream cheese was added. Make sure to let the corn cook in the skillet until any excess water evaporates before moving on to the final step.
Is this recipe gluten-free? Yes! All the ingredients in this Honey Butter Skillet Corn are naturally gluten-free, making it a safe and delicious side dish for those with gluten sensitivities. Always check the labels on your specific ingredients to be absolutely sure.
Honey Butter Skillet Corn
Ingredients
- 2 Tablespoons Butter Salted is preferred
- 2 Tablespoons Honey
- 1 bag 16 oz Frozen Corn (Gold n' White or Sweet Yellow)
- 2 Ounces Cream Cheese cut into small chunks
- ¼ teaspoon Salt
- ¼ teaspoon Black Pepper
Instructions
- Melt the Base: In a large skillet over medium-high heat, melt the butter and honey together.
- Cook the Corn: Once melted and bubbling slightly, add the frozen corn. Cook for 5 to 8 minutes, stirring occasionally. Allow the corn to cook until heated through and any excess moisture has evaporated.
- Make it Creamy: Reduce the heat to medium-low. Add the chunks of cream cheese, salt, and black pepper. Stir continuously to combine the melting cream cheese with the honey and butter.
- Finish and Serve: Let it cook for an additional 3 to 5 minutes, stirring frequently, until the sauce is smooth and creamy. Serve immediately!
Notes
- Serving Size: This recipe comfortably serves 6 adults as a side dish. If you are feeding younger children, you can easily stretch this to 8 servings.
- Corn Type: Gold n' White corn provides a fantastic flavor, but any 16 oz bag of frozen corn will work perfectly. Do not thaw the corn before cooking.
- Storage: Store leftovers in an airtight container in the refrigerator for up to 4 days. Reheat on the stovetop with a splash of milk or in the microwave.